Hi – entangled lettering

©Angela Porter 2019

I’ve worked on this one over the past three days. It all started with the pencilled in letters and then I went to town adding tiny, entangled patterns around them.

I used a fountain pen on marker paper and the final image size is approx. 16cm x 14cm.

Doodly Saturday

©Angela Porter 2019

It’s been a weird kind of day today for me. I’m quite open about my mental health, and today has been one where it’s not been completely tickettyboo. I’m out of sorts. Unsettled. Nothing I’ve done seems good enough to me. I’m quite teary and that really set in during a loving kindness meditation this morning.

Loving kindness meditations are always difficult for me. It’s easy for me to send out love and good wishes to all people. It’s not easy for me to accept the same for myself. Today, it was more difficult than usual, including some physical pain along with it. Traumas from my past kept rising up. Things I didn’t think were traumas, just stupid decisions made by myself. Seems I have work to do on those too in EMDR therapy.

I did colour some mixed media paper with distress inks and quite small pieces at that. I drew on two of them, as above. I’m really not happy with either of them. I really don’t know why I put the words on the left hand one. Growth is a funny word there.

I’ll just put it all down to me being out of sorts. Perhaps tomorrow will be a better day for me to focus on art.

This is odd for me as drawing or creating usually helps me to feel better. Today it hasn’t.

I received a book in the post today – “The Wild Remedy’ by Emma Mitchell. It’s a diary she’s written over a year of how she finds being in nature and drawing and painting helps her with her low moods. She’s subtitled the book ‘How Nature Mends Us – A Diary’. I’ve read the introduction and the first month in the diary, which is October. Both interesting reads.

I almost was inspired to go out for a walk, but I just couldn’t pull myself together to do this during the daylight hours. The Sun has just set here in South Wales in the UK. Perhaps tomorrow I’ll manage to get out for a walk at some point.

I know my moods don’t linger for long. I do have low days which can linger for a couple or few days. Nowhere near as bad as they used to be, but enough to result in me being unsettled and out of sorts and hypercritical of myself and anything I do. I’ve become aware enough that it’s best to do other things that draw for publishers on days like today as I’ll just get more and more frustrated with myself and my efforts.

On other days, whatever I draw I may consider good enough. But on days like today …

Still, the sun will rise again in the morning and it’ll be a new day. My mood may be better then and I’ll accomplish work I consider to be good enough. Now all I need to do is try to find something that I can settle down to do today. I’ve been back and forth all day between drawing, reading, knitting, fussing around. The only creative thing I’ve enjoyed today has been colouring paper with distress inks. Not sure I want to spend the evening doing that though.

Maybe I need to go out for a drive. Sometimes driving with upbeat music on can shift my mood, especially when I feel anxious and restless as I do now, for no reason either.

Monogram D entangled design (with some little dangles)

I had a day or two of subconscious reflection on how to pattern around a letter after not being all that happy with the lower case b design. So, I wanted to put my vague ideas into practice.

Yes, they were vague ideas, no clear idea of how I wanted things to look, but I just wanted to try them out and see where they led.

I started with a faint pencil outline of an uncial style letter d, and then used a fine nibbed Rotring Art Pen with black ink to draw the design with.

I used the pencil line as a guide to where the entangled designs would either butt up to the edge, spill over the edge or curl over it and I just let the designs flow and grow. I also left the design in an organic shape rather than working to a square or rectangular shape.

I did work on a piece of A4 paper, but the design is a little over a quarter of the size of the paper. I can’t believe I did such teeny-tiny drawings again! I really enjoyed it!

In some places I’ve made the edge too hard, too linear. In one place I tried to correct that (lower left of the d) by adding more bits to the pattern, but that linear line is still evident. However, it’s all learning.

After scanning in, I wanted to add some texture and a bit of colour to that letter to help it stand out more. I may try doing the reverse as in colouring the design in and leaving the letter plain later. I may even try using some watercolour brushes in Autodesk Sketchbook Pro, using my Microsoft Surface Pen and Microsoft Surface Studio.

I have designated friday as #dangleday, and I did add some tiny, fine danglesto the design. Dangles don’t always have to be big and fancy or a prominent feature of designs, like in my book ‘A Dangle A Day‘.

Entangled Art ‘b’

© Angela Porter 2-19

Yesterday, I just felt the need to do a bit of an entangled drawing. So, I started with the lower case b and added designs around it.

Not at all sure this works. The letter just looks ‘plonked’ on top of the design rather than part of it.

I do like the entangled stuff though.

Always something to learn – that’s my piece of Wednesday Wisdom. If you don’t try something, you never know if you can either do it or if it’ll work out. This one isn’t one of my better lettering adventures, but, I can reflect on what I like and what I don’t like and then try again another time.

I’m not at all sure I can ‘fix’ this one, but I can try again.

For this one I used Daler Rowney Bristol Board along with 08 Unipin Uniball and 04 Sakura Pigma Sensei pens.

Inktober 2018 Day 15 Weak

Angela Porter Inktober 2018 Day 15 Weak

Another day in Inktober and another hand lettered and illustrated quote.

My hand lettering really does need work/practice!

I just had to include a rude little monster tucked away in the intricate pattern around the quote.

I drew this on dot grid paper using Faber Castell Broadline and Fineline pens. I then scanned it in, removed the dot grid and created a transparent background in GiMP. I then used Autodesk Sketchbook to add a colour background and my watermark.

The drawing took a couple of pleasurable hours to do; it is smaller than my previous ones,being a round 17cm x 17cm in size (the overspills make it awkward to measure!

The design reminds me of the work I used to do before I became so immersed in coloring book design. I know this creeps out from time to time, and when I get a chance to do it I really enjoy drawing this kind of detail.

One thing I’d do, perhaps, if I were to go back and do this again I would definitely pay more attention to the hand lettering and I’d add some shadows to the line art to add some more depth/dimension to the design.


Inktober 2018 – Day 9 ‘Precious’

Angela Porter Inktober 2018 Day 9 PreciousInktober 2018 Day 9 – What’s precious to you?

That’s what I thought I’d go with once I started drawing this one.

Yes, it’s another doodleworlds type image. I’m quite enjoying them as a change from my usual style of art.

I drew this on Frisk Bristol Board with Sakura micron pens. Scanned it into Gimp so I could create a transparent background. Then, I threw it (not literally) into Autodesk Sketchbook Pro and added colour and texture there.

I actually finished drawing this this morning. I had to leave it uncoloured to go out to do an anti-stigma talk for Time to Change Wales this morning. That left me feeling emotionally drained.

After the talk I had to make my way to Neath for a spot of lunch before my counselling/EMDR therapy appointment. That drained me even more and I’m still reeling from it now. A very intense session today.

I came home shell-shocked from it and I had to sleep. Which I did. On waking I turned my attention to colouring this in.

The colours aren’t quite as vibrant and bright as others I’ve used recently. I think that reflects my state of tiredness and emotional exhaustion.

All the same, I had fun coloring, which I don’t get to do often.

Inktober 2018 – Day 8 – Star

Angela Porter Inktober 2018 Day 8 Star

Migraine gone, slept well, started this around 7am and have just finished at noon!

I drew the black line art on Rhodia Dot Grid paper, scanned in it, removed the dot grid and created a transparent background in GiMP and then coloured it in Autodesk Sketchbook pro.

My tools were – Sakura Micron pens on the paper, and a Microsoft Surface Pen on the Microsoft Surface Studio screen.

I did pencil in the letters before handlettering them, and I also penciled in the outer border for the artwork.

I did make use of gradient tools in Autodesk Sketchbook Pro, as well as a glow airbrush tool and layers.

I did want to try to colour it in in a more traditional style with the digital tools, but it just didn’t happen this time …

Now, I need to get my shower and sort myself out for the remainder of the day, which does include starting work again on my next Entangled book for Dover Publications’ Creative Haven series of adult coloring books.

The Inktober 2018 challenge has helped me to get my hand/eye coordination back in some kind of shape after a week or more away from drawing when I took my trip oop t’Yorkshire Dales.

Oh, I just knew I had to include a quote about stars! Goes without saying.

My hand lettering does need some working on, but it’ll do in this instance.

Abstract Botanical 19 September 2018

Angela Porter 19 September 2018

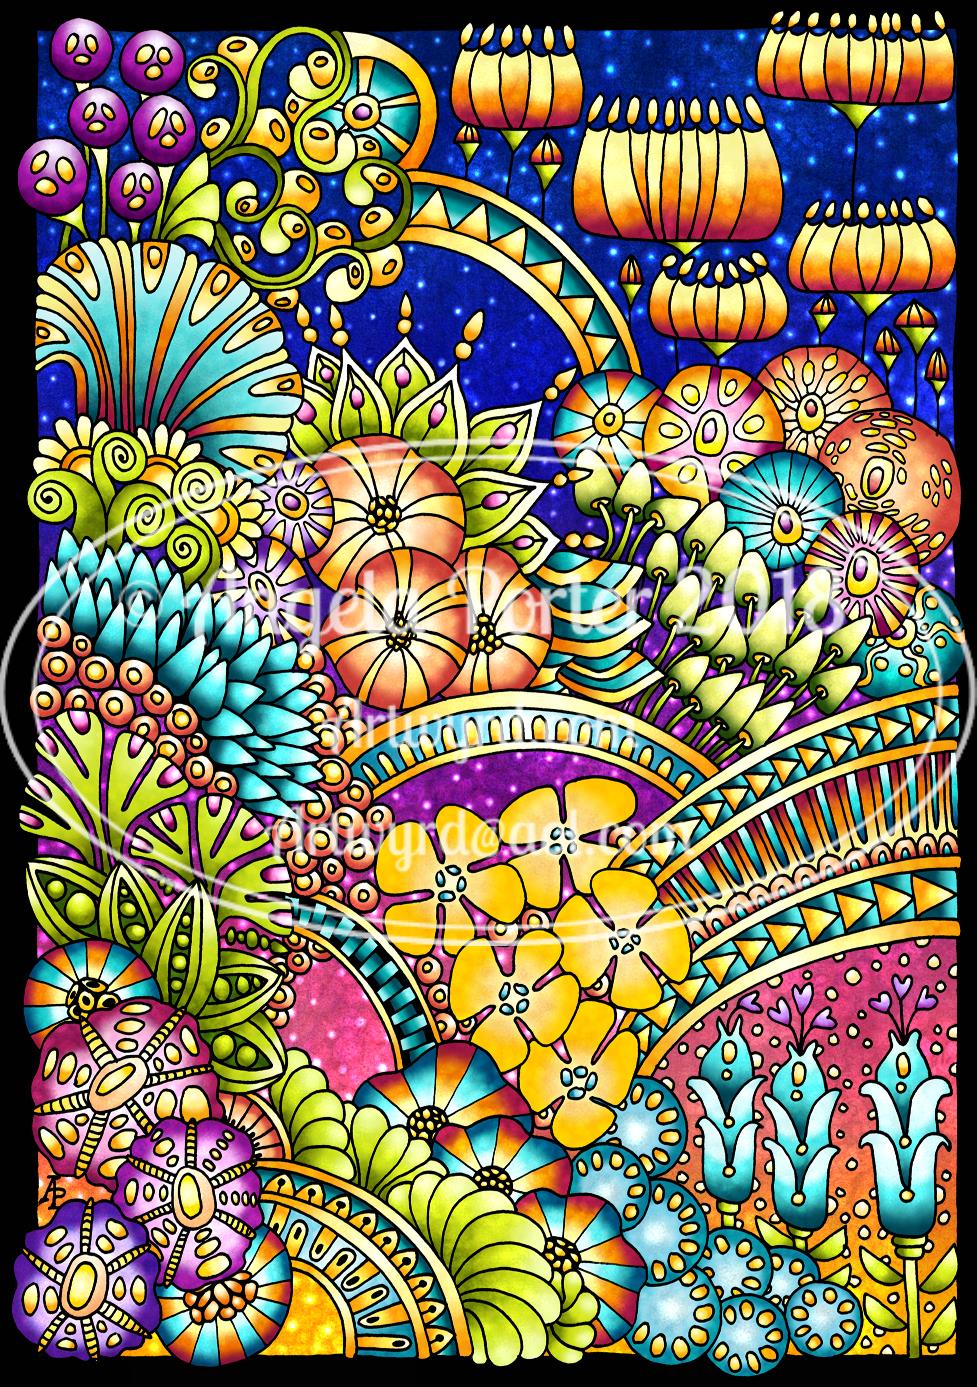
It’s a lovely, sunny late summer morning here in the UK and it’s been a perfect time to finish this design off.

Yes, it’s another abstract, zentangly, entangled botanical design, which seems to be my signature style of art, though I do dabble in other styles, as you know, particularly my kind of dangle designs.

This one, like many of my previous ones, was completed in these stages:

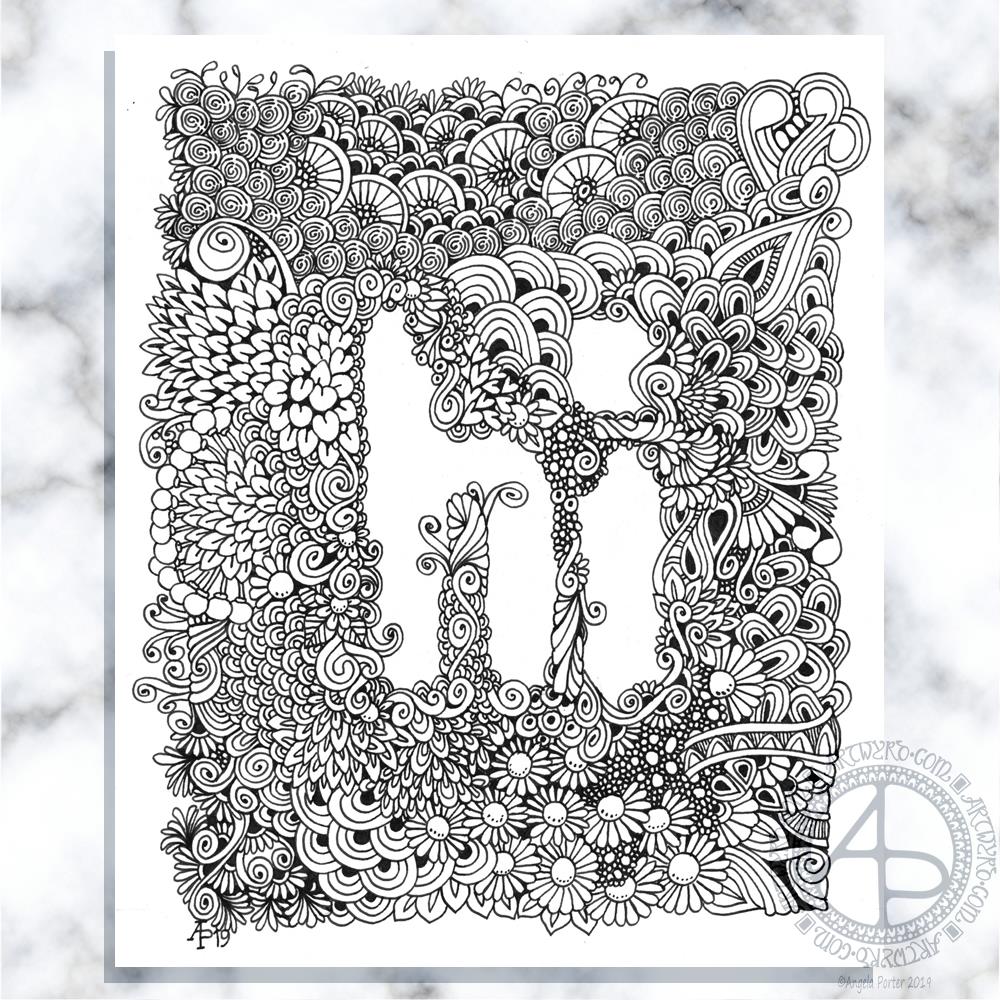
  1. Draw the black and white line art on Rhodia dot grid paper using a black 08 Sakura Pigma Micron pen.
  2. Scan the drawing into GiMP. Use tools to remove the dot grid and remove the noise. Save with a transparent background.
  3. Import the image into Autodesk Sketchbook Pro. Any edits to lines can be made here using a pen ‘brush’ that mimics the texture of the Micron pen on the dot grid paper. Then layers are used to create the background, add colour to the design before adding texture and highlights.

It takes a day or more to create a piece of art like this. The drawing of the design alone can take anywhere from 2 to 10 hours, depending on the intricacy and size. This one was A4 in size and isn’t very detailed; I let the colour and texture add details to the design in this instance. I want the colours to shine. The colouring etc. has taken a few hours to do.

It takes me at least as long to create a piece of digital mixed media art as it does to draw and colour the design using traditional methods such as Chameleon markers or Inktense pencils.

What I love about working digitally is the ability to change the colours I use for the elements, and then being able to add texture and highlights/shadows. I can see where I need to go back to the image and add or deepen shadows to increase the sense of depth in the design. A drop shadow on the background isn’t really needed as I think the background is like a sunset sky or alien sea.

The other thing about digital work, is the ability to use the black and white outline to re-work the design using a different colour palette, different textures. I also have the option to print the design out and colour using other media, such as marker pens, perhaps changing the size of the image so that I can create, say, a greetings card or note card, or even a page for my BuJo.

I spent some time on Monday playing with Repper Pro and had some fun creating repeating patterns using the last couple of abstract botanical images. Just from a couple of artworks, I have more than a hundred seamless tiles for patterns; it’s just sorting through them and working out which are the best. I may post some of the best ones later today or tomorrow, and maybe create some based on today’s art above too.

I actually think some of the tiles would, with a border, make amazing patterns for square cushions/pillows worked in tapestry, canvaswork, cross-stitch or similar. You can decide for yourselves when I post them.
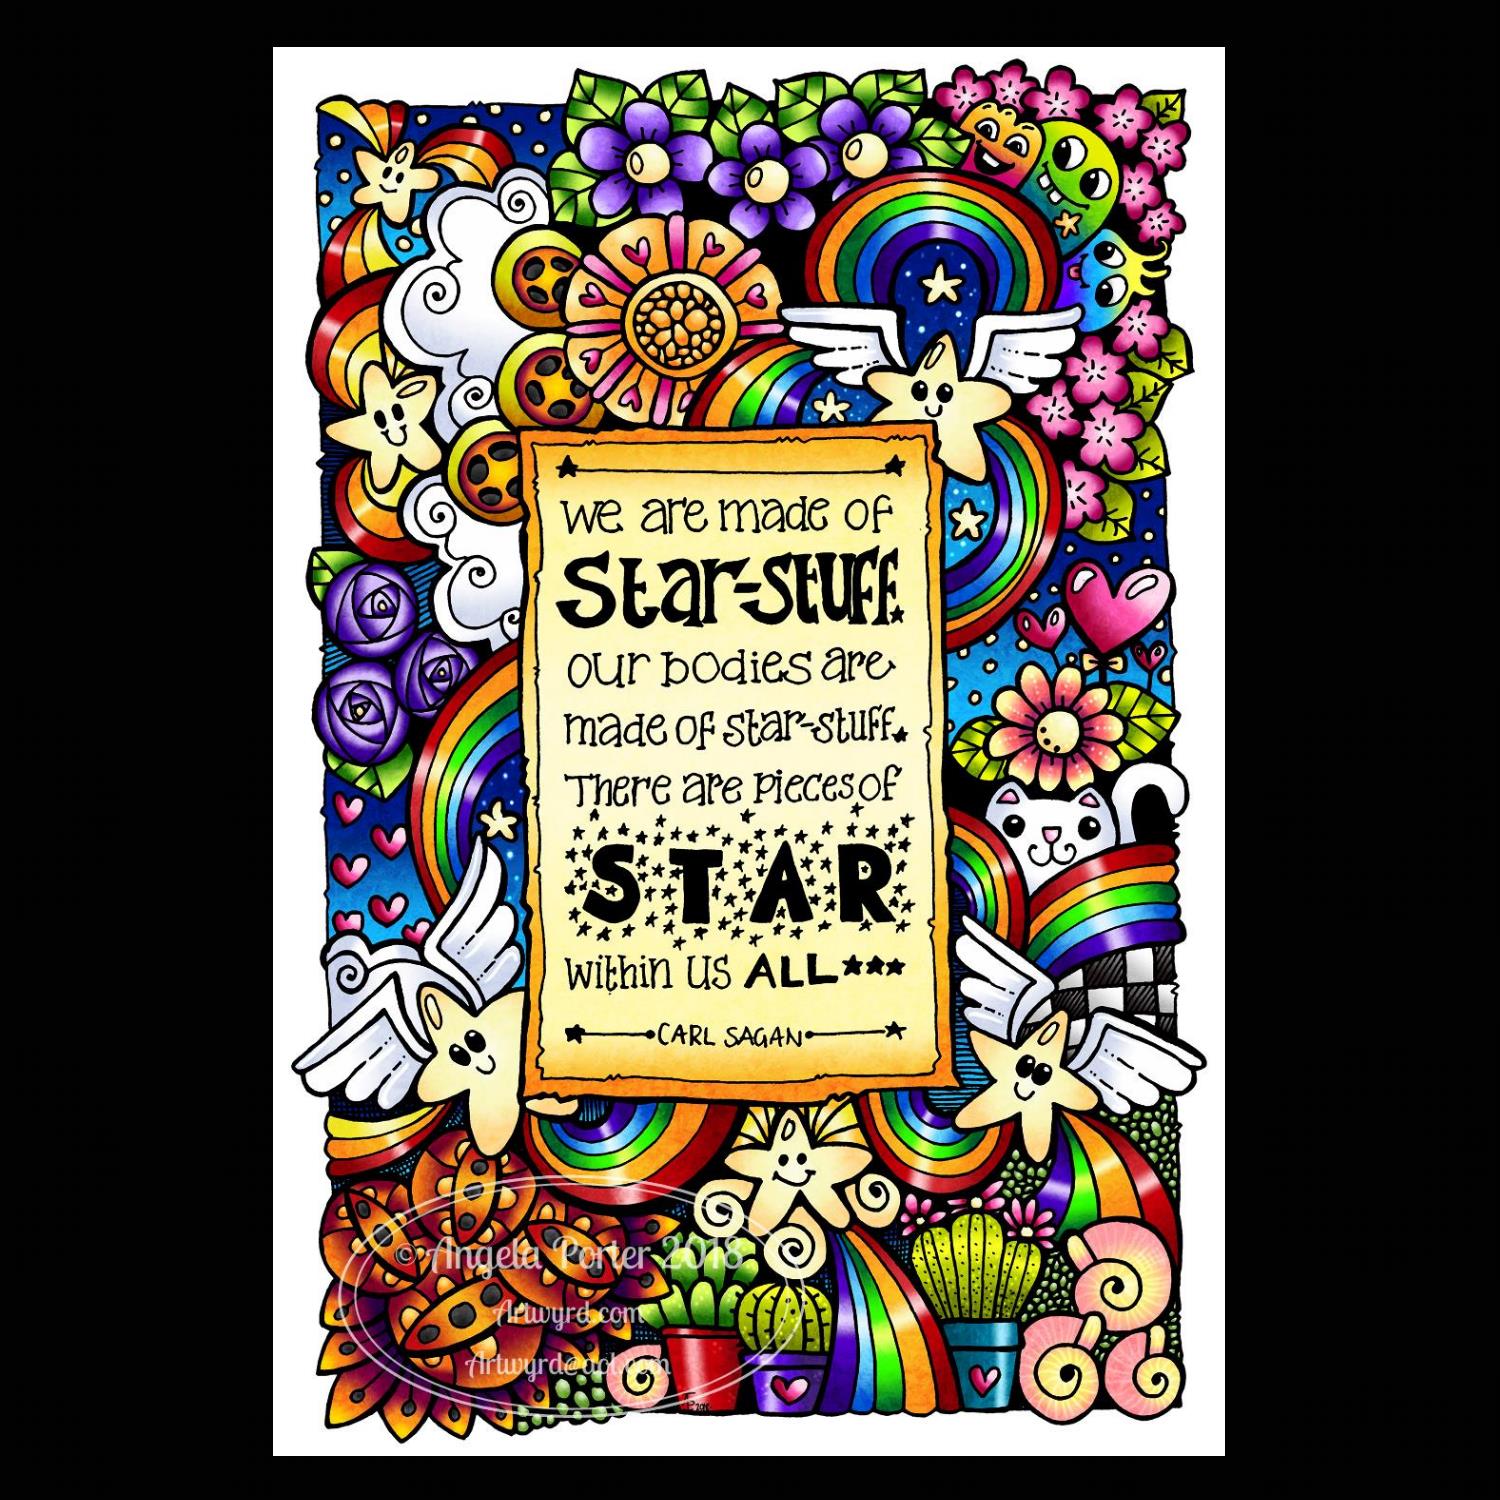
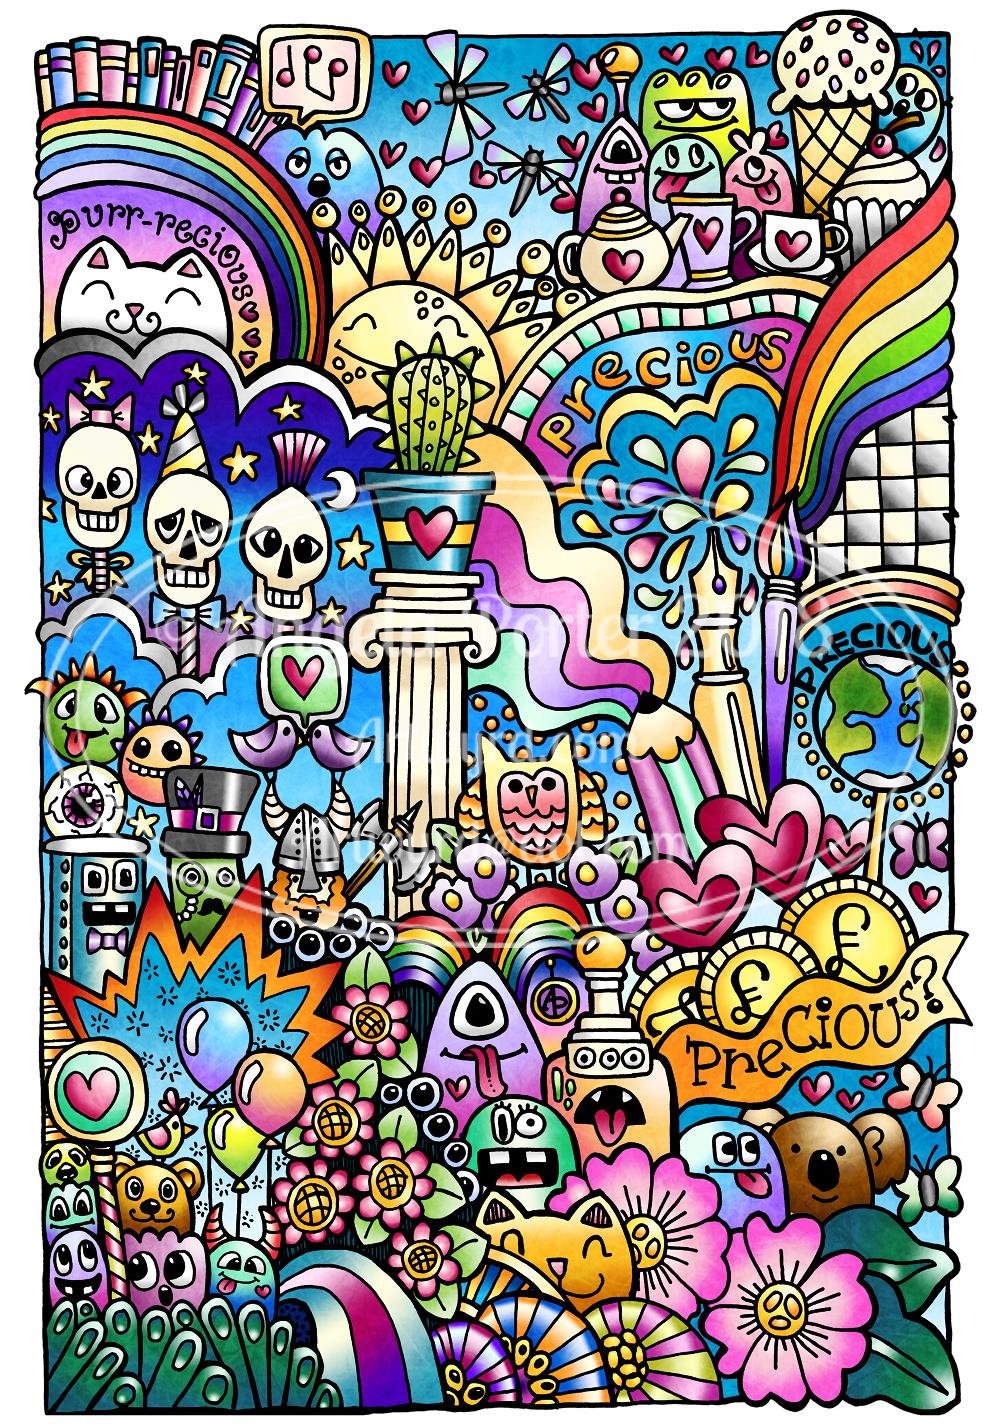
If you want to know what a person’s like – revisited

Angela Porter 16 July 2019

I thought I’d revisit the previous quote, alter the words a bit and this is the result.

I used an oldy looking type-writer font for the quote and printed it out, I used a Sakura Pigma Micron PN pen to draw the design around it. I then scanned it in and altered the colours in Autodesk Sketchbook.

I learned a new ‘trick’ when using sketchbook, completely by accident, and it’s one I want to explore a little more in the future, especially for adding gradient colours to black and white work.

This would look lovely printed out and added to my BuJo, or even framed and hung on my wall.

Making stamps and more Autumnly Entangled

dav

Stamp Carving

I woke up the other morning, Thursday I think it was, and had the overwhelming desire to try my hand at carving stamps from rubber blocks again.

I enjoyed doing lino cuts when I was doing my A level in art over a decade ago, well apart from the way my finger and wrist joints would hurt after doing this.  So, I thought I’d have a go with soft rubber, and above you can see the first of my efforts.

The weird flower was the first, and I’m not happy with it, though I think it would be fine as a background stamp in mixed media work, maybe.

The other circular stamps followed fairly quickly after that one, but the stylised thistle was one I did this morning. The white rubber discs are made by Essdee, and I used lino and stamp carving tools by the same company.

The leaf, heart and geometric patterns I carved this morning from a different kind of pink rubber: Speedy Carve from Speedball.

Both kinds of carving material were easy to work with, perhaps a little too soft for my liking, but only time will tell.  The only other tools I used were a pencil to draw the designs on the stamp carving material and a craft knife to cut the Speedy Carve.  Oh, and some sepia Archival Ink from Ranger, and an acrylic stamp block for the circular discs to adhere to while I stamped with them.

Autumnly Entangled

dav

dav

Two more, drawn on paper coloured with Distress Oxide inks, with highlights of white gel pen and metallic gel pens added.  Also, the bottom one has had colour added using Zig Clean Colour Real Brush Pens from Kuretake and also some Prismacolour pencils.

I still have two more 10cm x 14cm sheets of coloured paper to draw on… so at least two more to come!