Entangled art

©Angela Porter 2019

I found this lovely quote a couple of days ago and knew I wanted to add entangled patterns around it.

About the art.

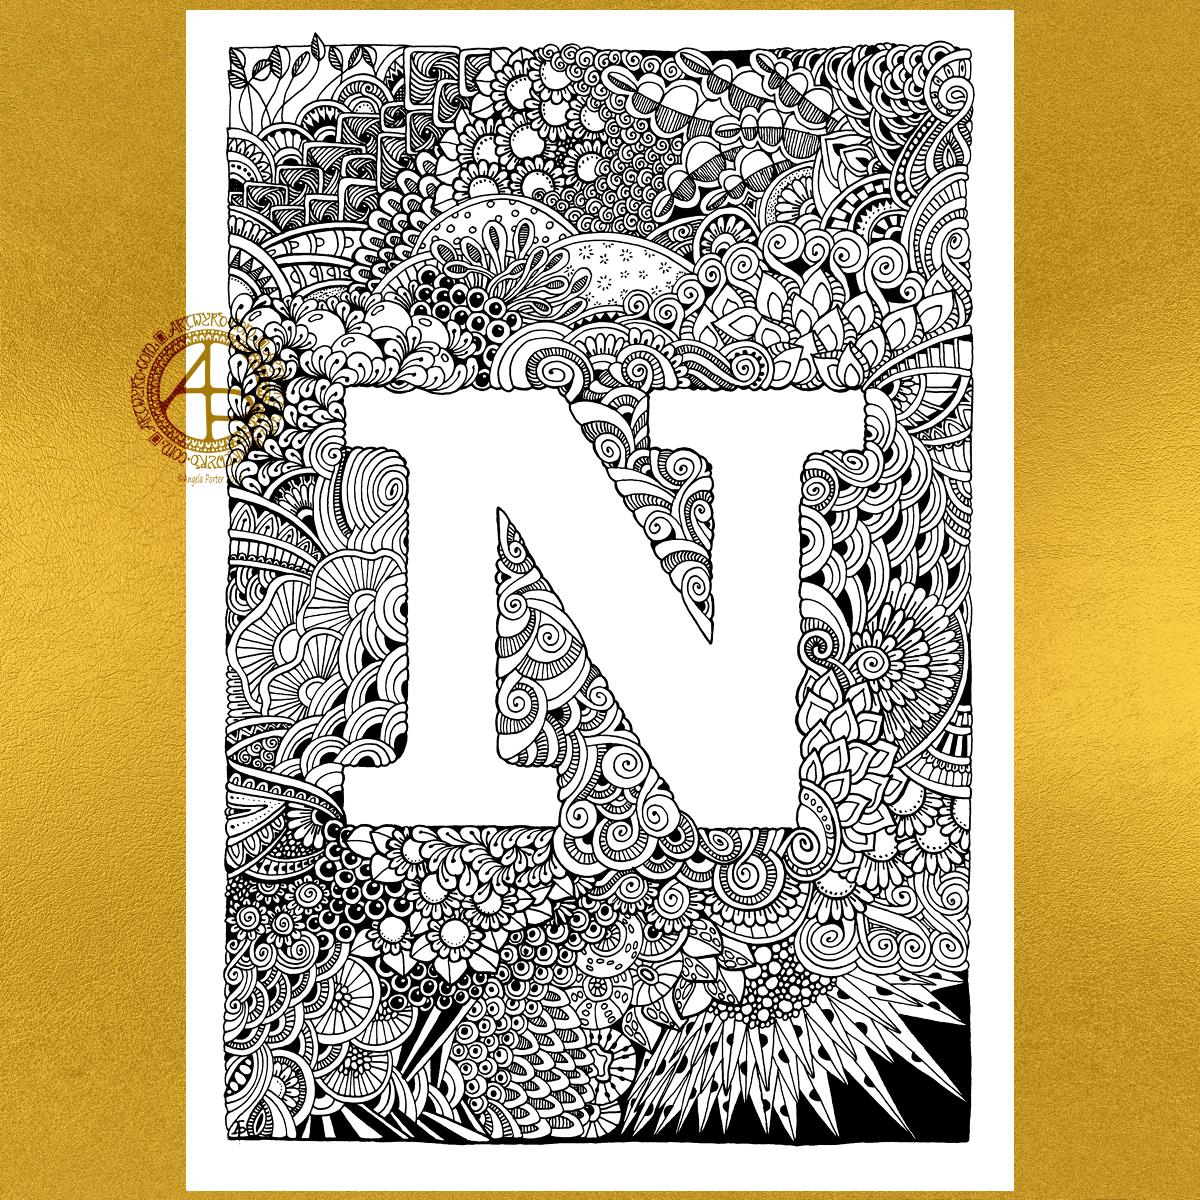
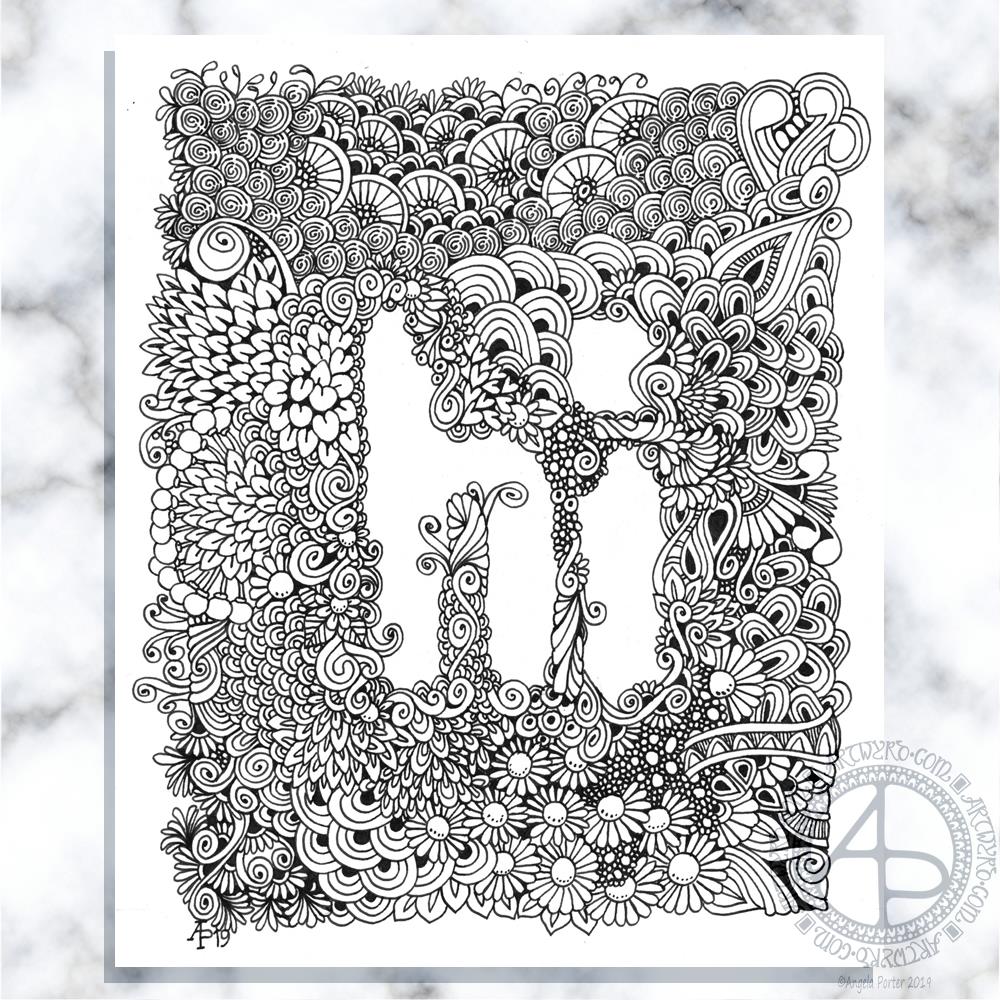
Rather than hand letter, I decided to print the quote by J.M. Storm out, along with the outlines to the boxes. I do very much like a well defined space to work within. I know I’ve done art where I’ve left an organic, uneven edge in the past, but I still like those clear boundaries.

To draw the patterns I used a Sheaffer fountain pen along with 06 and 04 Pigma Sensei pens from Sakura. The 06 led to me using some heavy lines to define the patterns and sections, something I’ve not often done for a very, very long time and I find it pleasing. Again, clear boundaries. I also like when art like this is coloured; it looks like stained glass and I love stained glass.

I may spend time colouring this today. I woke with a terrific headache this morning. Although it’s mostly passed, thanks to some Anadin Extras and copious quantities of tea, I still feel kind of spacey and tired and not able to focus much.

Why I like this quote.

She is a beautiful piece of broken pottery, put back together by her own hands. And a critical world judges her cracks while missing the beauty of how she made herself whole again.
J.M. Storm

I like it because it almost perfectly describes how I think about what is happening to me during therapy, about my journey to recovery.

The traumas of my life, right from a very young age, left me cracked and over time those cracks led to my mental health and emotional health breaking into pieces.

I’m the one who has to put the pieces back together, however I don’t have the skills and tools to do that. That’s where my therapist, my counsellor comes in. EMDR therapy helps to reprocess the traumas that led to me developing cPTSD and helps me to change the old, unhealthy, harmful thoughts and behaviours that I have into healthy thoughts and behaviours. My therapist helps me learn the tools I need to do this as well as to be more resilient as my life progresses, and so much more I’m sure.

I don’t know if it’s possible to make myself whole. My aim, though, is to be whole enough to have a life where I can do what I currently am unable to do – set healthy boundaries, be confident in myself, be less scared of the world around me, and so on.

I’ll always have cracks – evidence of the life I have led – but I want those cracks to be filled with gold or silver or copper so that they are things of beauty in themselves. They are evidence of where I’ve come from and what has led me to be the person I am.

I’m well aware that as I heal I won’t be quite the same person I was and many people won’t be happy about that. But those are the people who have wanted me to fit into their image of how they have thought I should be for their own ends, not least of which is my narcissistic mother.

No doubt my becoming the person I was meant to be, a mentally and emotionally healthy, resilient, self-aware, self-compassionate woman would be a source of great criticism for those who don’t like the changes in me as I heal the mental and emotional wounds.

Part of the process is learning from the past and freeing myself from the limitations placed upon me in the past by others with their own agenda, whether conscious or unconscious.

I’m sure there’s a lot more reasons why I like this quote, but the fluff-filled post-headache spaced out mind just can’t focus just now.

Entangled Monogram N

©Angela Porter 2019

Fountain pen and ink on marker paper. A4 in size.

Enjoyable few hours (around 6) drawing this one. I have toyed with the idea of mocking up gold foil for the N…not sure if it works though having tried it out.

I still think the edges of the N are either too wobbly or too straight … not sure if the patterns should just peek over the edge in places with clear lines in others …

Let’s go try another letter out! I will eventually crack this … I will …

K monogram

©Amge;a {prter 2-19

I wanted to start my arty day with some intricate fountain pen drawing, and this is the result.

I didn’t draw on coloured paper though. I tried on some parchment paper from Manuscript, but the ink smudged so easily…so I thought I’d try some mixed media paper from Claire Fontaine, and I still had some faint smudging, but not as much as on the parchment paper, so I worked with it, knowing that I’d be able to clean it up digitally, which is what I’ve done.

I also added a coloured background to the artwork, trying to mimic the parchment paper. I think I’m going to have to scan those papers in to create texture backgrounds I can use digitally.

I kept the monogram shape really simple, though as I look at it now there’s space inside for some embellishment – maybe a bar or two with finials or beads on, nothing fancy though. Mind you, I’d love to add gold leaf to the borders and colour to the K as well. Maybe something I can do sometime in the future, with another monogram styled like this one but without the ink smudging that I could only remove digitally.

Note to self:-
use paper that fountain pen ink will dry thoroughly on, on bleed
on and won’t smudge easily!

I enjoy the tiny, intricate drawing as well, it is something that brings a gentle smile to my being.

Oh, I did use fountain pens to draw with. I used a broad Kaweco pen for the outlines of the letter and boxes. I then used a fine point Kakuno pen by Pilot for the patterns.

Yesterday I paid a visit to a stationers in Cowbridge called The Pencil Case.

There were lots of oohs and ahhs and wows from me as I browsed around and picked up a fair selection of pens and pencils – a pink Brunnen fountain pen, a teal Faber-Castell Poly Matic 0.7 automatic pencil along with a couple of cases of 2B leads, some spiral pen/pencil grips by Tombow, an set of coloured Pentel Energel pens (12 pens in fabulous colours!), and an R2D2 fountain pen from Shaffer!

I know, I have a problem!

I had a lovely chat with the lady in the shop (whose name I’ve forgotten) about stationery, pens, drawing, teaching and so on. We also experienced a huge bang as a car collided with a big van outside the shop. We weathered the ensuing drama quite well, all things considered.

My pen stash has some lovely new additions, especially the R2D2 pen! If you didn’t know, I love Star Wars, amongst other things.

I’ll definitely be visiting The Pencil Case again, and I’ll be using the pens, fountain and Energel, to draw with alongside my other fountain pens.

Hi – entangled lettering

©Angela Porter 2019

I’ve worked on this one over the past three days. It all started with the pencilled in letters and then I went to town adding tiny, entangled patterns around them.

I used a fountain pen on marker paper and the final image size is approx. 16cm x 14cm.

One Frosty Morning – a mandala design

©Angela Porter 2019

I’ve had a very pleasant two or three hours this afternoon creating this mandala.

It’s quite different to my usual styles of mandalas and I rather like it. I also rather like the monochrome colour scheme which inspired the title of this mandala.

Drawing in colour is a departure for me from the usual black line drawings which are then filled in with colour and/or pattern. I’m uncomfortable drawing other things in colour without that black line to define their shape/form. But mandalas are a whole different thing. They are a way for me to explore this way of working with colour.

What is exciting is that I carve into bold shapes, removing colour and adding more designs and interest. This is something that working digitally has allowed me to both discover and to begin to explore. The ability to add colour, remove colour, refine by adding more colour, and so on is what makes creating something like this a little easier than with traditional media, but it is what is allowing me to express my creativity in different ways.

I am really pleased with this design. It’s one of those that makes me smile for two main reasons. The first is I like it, lots. The second is the satisfaction of exploring something new and discovering a new, different and personally satisfying way to work.

My drawing tool was a Microsoft Surface Pen. My paper was the screen of my Microsoft Surface Studio. Autodesk Sketchbook Pro provided my colours and other tools so I could create this mandala design, which I think is lovely.

Monogram D entangled design (with some little dangles)

I had a day or two of subconscious reflection on how to pattern around a letter after not being all that happy with the lower case b design. So, I wanted to put my vague ideas into practice.

Yes, they were vague ideas, no clear idea of how I wanted things to look, but I just wanted to try them out and see where they led.

I started with a faint pencil outline of an uncial style letter d, and then used a fine nibbed Rotring Art Pen with black ink to draw the design with.

I used the pencil line as a guide to where the entangled designs would either butt up to the edge, spill over the edge or curl over it and I just let the designs flow and grow. I also left the design in an organic shape rather than working to a square or rectangular shape.

I did work on a piece of A4 paper, but the design is a little over a quarter of the size of the paper. I can’t believe I did such teeny-tiny drawings again! I really enjoyed it!

In some places I’ve made the edge too hard, too linear. In one place I tried to correct that (lower left of the d) by adding more bits to the pattern, but that linear line is still evident. However, it’s all learning.

After scanning in, I wanted to add some texture and a bit of colour to that letter to help it stand out more. I may try doing the reverse as in colouring the design in and leaving the letter plain later. I may even try using some watercolour brushes in Autodesk Sketchbook Pro, using my Microsoft Surface Pen and Microsoft Surface Studio.

I have designated friday as #dangleday, and I did add some tiny, fine danglesto the design. Dangles don’t always have to be big and fancy or a prominent feature of designs, like in my book ‘A Dangle A Day‘.

Monogram B Dangle Design

©Angela Porter 2019

Originally, I drew the original version of this design with pen and ink on paper. I wanted to edit the design and add a dangle to it, so decided to work digitally (Microsoft Surface Pen, Microsoft Surface Studio and Autodesk Sketchbook Pro).

By working digitally, I could edit and amend the design easily, using the original sketch as a guide. You can see that I made quite a few changes. I’m much, much happier with the blue version. The pink one is pretty and a good start, a way to experiment, but the blue one is the more polished, finished version, and not just because it’s been drawn digitally!

For the original sketch, I used a copic marker to draw out the basic letter shape and then used Unipin and Pigma Sensei pens to add the lie details. The copic is patchy, but that’s because it was a quick sketch.

I like the increased amount of white space in the new version – it does add a bit of a stained glass look to the design. I also like the stylised roses inside the ‘B’ in the revised version; adding the patterns inside the rose rather than on the edge helps the rose to stand out from the coloured section by giving a mostly white border.

Once I’d thickened the main beams of the letter, I added dots to carry the lines on. Then, I decided it could be fun to echo these dots by carving out dots in the flared ends of these lines. These dots have lightened those lines up, adding some airiness as well as interest.

Oddly, as I look at them I am minded of a very Old  Bridge here in my home town. The bridge was built by William Edwards in 1756. When it was built it was the longest single span bridge in the world. The addition of 3 holes at each end of the bridge allowed it to bear the weight of the stone and not collapse. It is these holes, the lightness they gave to the design that I recalled when I was thinking about those ‘holes’ in my blue B.

I really wanted to add a simple dangle to this monogram – the letter is ornate enough that it could be too fussy if I’d added more than one dangle, or made the dangle ornate. Of course one of the charms had to be a heart! Simple beads and a diamond charm complete the dangle. My dangles often remind me of jewellery!

It’s not very often I show any kind of editing or reworking of my artwork, that’s because I do tend to work very intuitively and don’t really draft my work. Sometimes, I may do a pencil or pen sketch for an illustration for one of my colouring books, especially if it’s a kind of ‘scene’.

Since I’ve been working digitally, however, I do seem to be doing a lot more of the sketching out or working more roughly and using this as the sketch for the digital art.

An added advantage is that this satisfies my need to work with traditional media. Also, by working on paper I get a better idea of the scale of the finished artwork.

I think I’ve said it before that I do struggle with a sense of scale when working on a screen due to the ease of zooming in and out. Paper is a fixed size so I can appreciate the scale far more, and it seems easier for my brain to get a better idea of the whole design.

It’s all part and parcel of my artsy journey, figuring out what is best for me and not trying to work like others or being worried about how others judge me and my process. More than anything though, it’s about me learning not to be such a harsh judge and critic of myself. One negative review, and my inner critic gives itself a rocket boost and any belief in myself is kicked to the outer edges of the known universe. That’s why I don’t read reviews – I struggle enough with my own inner critic without battling others’ opinions.

I’m learning it’s far more important that I appreciate my own work rather than looking to others for approval. It’s always wonderful when people tell me they love my work. It’s always valuable when people, particularly my editors, give me honest feedback on what needs to be changed to improve things – they see things I miss by working all too close to the artwork.

I’m learning that it’s more important for me recognise that what I create is mostly good enough, sometimes I’m really pleased with what I’ve done, sometimes I can see something is truly awful or that there is room for improvement.

Reflection on my work is important as it helps me to learn, grow and develop, and helpful input is always welcome.

When I look at this blue B monogram dangle design, I can honestly say I smile. It’s an example of a design I am pleased with. It’s intricate, but not overly so. There’s empty space within the design

Less than a week now until ‘A Dangle A Day’ is released – my book showing how you too can create dangle designs, one step at a time!

Monogram R

©Angela Porter 2018

I started work on these early this morning – around 7am. And I’ve finished for now – it’s around 9am. I’ll return to them later today or tomorrow as I have a lil trip out for lunch with a friend.

Some different kinds of styles appearing in this little bunch!

The big R at the top is mostly done – it just needs some colour I think. It’s also similar in style to the previous monograms, starting with the yellow K did a couple of days ago. It’s been drawn with 08 Unipin and 04 Sakura Pigma Sensei pens. Green metallic embellishments have been added with a metallic Sakura Gelly Roll pen.

The R at the bottom, with the thick lines, was drawn using a Tombow Fude brush pen. Not easy to control the thickness of lines, so I used a Uniball Unipin pen to tidy up the lines and add the bits on the end. Not sure how I’m going to progress with this one.

The two in the middle row have been drawn with the Unipin and Sensei pens.

The R to the right was drawn with a Uniball Unipin brush pen, which is a bit easier to control the line thickness than the Tombow Fude pen. I did neaten up the lines and ad more using the Unipin and Sensei pens.

The bigger the letter, the more space for embellishments – the paper size is A4 (approx 8″ x 10.5″) in size and it’s white and very smooth Daler-Rowney Bristol Board. The smoothness of the paper makes it so easy to draw smooth, even lines on it. It won’t take water colours or watercolour washes, but markers and coloured pencils work fine on it. Tombow Dual Brush pens and similar tend to cause the paper to pill. Of course, I can always use a scanned image to colour them digitally.

Yes, I could also add dangles to each monogram. However the purpose of this exercise is to practice my hand lettering, particularly in this rather ornate and embellished style. Dangles can be added in the future.

I cover drawing monogram dangle designs in my book ‘A Dangle A Day’, which is due to be published in just over a week! Exciting!

Winter Mandala

©Angela Porter 2018

A mandala today. Cool, wintry colours over a white-pearl background for the mandala. Just something relatively simple for me to create, but quite complex looking in it’s final form.

I did draw this digitally using my Microsoft Surface Pen and Surface Studio along with Autodesk Sketchbook Pro. I also used a pearl white texture and starry backgroun I purchased via Creative Market.

I have also created a winter solstice dangle design for later in the week (Friday), as I know tomorrow I’ve got a bit of a busy day.

Today, though, is a quiet day for me. I’m not feeling too well. Nothing specific, but my appetite isn’t there, I’m a bit sniffly and I just feel more than a little ‘meh’. Mind you, I do feel a little better than I did yesterday.

Now, it’s time for me to go cuddle up and complete some more amigurumi tiny toys which will go to add to stockings for children spending Christmas in a women’s refuge local to me.

Copper Mandala

©Angela Porter 2018

Another mandala resulting from my playing around with metallic textures and drawing to reveal the lovely shininess.

I know I got to the outer circle of the design and just felt the need to draw wiggly lines, like wires, connecting the mandala to everything outside of it, whatever that means.

These are fun to do. Mind you, I say that about all my art! And a bit of sparkle and shine is always welcome!

As a little bit of an aside, this weekend I added two coloring templates to the Angela Porter’s Coloring Book Fans facebook group for the exclusive use of members. One is the ‘Noel’ design I posted previously, the other is a design for 2019.

With the new year design, I’ve asked that those who colour it (or another template if they have no access to printers) as close to midnight between 2018 and 2019 at their local time as they can. It will be lovely to see a flurry of colour throughout the day as the world gradually moves into 2019.