December 2018 BuJo Monthly Cover Page

I’m absolutely dreadful at taking photographs! However, here is my coloured version of the dangle design I posted earlier today, all glued into my BuJo ready for the start of a new month tomorrow.

This is likely to be the only artsy stuff I do in my BuJo as the rest of my bujo is rather minimal – it’s functional and I can lose way too much time prettying it up. For instance, sketching, inking in the design and then colouring it has taken me most of my day! It’s been fun though, and a much needed ‘quiet’ day after a hectic week.

I realised after coloring the hand lettered December in that I’d messed up the letter M. The second vertical line should’ve been like the first one to give balance to it.

I also forgot that when I printed out the A4 sized design as an A5 that the lines would be reduced in thickness. So, I had to invest time in going over them with a thicker pen after I’d finished the coloring. Mind you, this helped to make the lines nice and bold again.

To colour I used Tombow Dual Tip Brush Markers along with glitter Signo gel pens from Uniball. I also used some Chameleon coloured pencils to add a bit of shading here and there and to add the shadow around the design.

I left the background white. I realised that I could’ve coloured it with Distress Inks and then coloured over them. So, instead of messing up the background by trying to colour it I elected to use silver and gold glitter gel pens to create patterns of ‘sparkles’.

Yes, glitter! I rarely get to add glitter or metallics to my work, especially if it’s for publishers as it really doesn’t photography or scan at all well. But as this is a personal project I did add a fair amount of sparkly highlights and elements.

I think this one may be my favourite BuJo monthly cover so far.

I must admit if I had time or desire to colour it again I’d not use the  Tombows. I managed to smear the colours lightly here and there so I haven’t got a ‘clean’ coloured illustration.

I think I’d go with alcohol markers such as my Chameleon Color Tones along with the Color Tops.

However, I think I may find it difficult to colour the tiny spaces with the Chameleons. That’s the problem with printing the design smaller than the original. 

Dangle Day Friday

Angela Porter Dangle Day 14 September 2018

Here’s two dangle designs for dangle day Friday. Simple designs, perfect for getting into the weekend vibe.

These are both experiments where I’ve worked on vellum/parchment, the kind that is used for Pergamano.

The one on the left – the monogram A – is nowhere near as garish in colour in real-life; I really don’t know what the scanner has done to the colours. I drew the design with a metallic gold Sakura Gellyroll pen. I then used Tombow Dual brush pens to colour the design on the reverse. I used shades of yellow, orange, red and magenta, but the scanner seems to have removed much of the red. I also managed to smudge the colours too. I don’t think I’ll be using Tombows on Vellum again.

I do like the gold linework and I think I’ll draw this design out again and colour on the reverse with coloured pencils, like in the dangle design on the right.

You may recognise the design on the right as last weeks dangle design. I traced that design onto vellum using a white Uniball Signo pen. I altered some of the details and the style of lettering.

Next, I did a little bit of ‘whitework’ on the reverse. This gave the highlights on the design that help to give the illusion of dimension as well as some texture. I let the design rest under a heavy book for an hour or so.

Finally, I used my Chameleon coloured pencils to colour the design in, again doing this on the reverse.

I like the colours on this one. The vellum mutes the colours somewhat, but it also softens any imperfections in the colouring.

I’m not sure about the white lines though. I need to try this one with some coloured paper underneath to help the lines stand out a bit more. I’ll post an image of it if it works.

I’d like to draw this design in gold and see how that looks. I may try black too. As well as using coloured pencils, I want to try using Copic  or Chameleon markers to colour the designs in, to see how they work on vellum.

These certainly were experiments, which I’ve learned from. Not only that, I’ve got some ideas to try out the next time I use vellum. I’m trusting I’ll find the combination of line colour and colouring medium that works for me and my style of working.

What would I do with these designs? Well, they would both work really well as spreads in Bujos, planners, journals and scrapbooks. I also think the monogram would make a lovely bookmark. They’d both make nice greetings cards or notecards. I’m sure there’s lots of other things they could be used for, such as framed pictures.

If you have any suggestions for how they could be used, leave a comment.

Bookmarks

Angela Porter 25 August 2018

I’ve been playing around with a different kind of material and techniques and created these bookmarks. I’ve had a bit of fun doing them, something different, the same kind of drawings but different techniques.

I’ve used parchment paper and various ball tools to draw the images and Tombow Dual Brush markers to colour them.

I like the one on the left a lot. Surprisingly, the more muted, pastel tones really appeal to me.

I do have other bits and bobs of parchment here that I’ve tried things out on, and there’s some skills to develop for sure; but it’s a nice way of working, to draw in white on white then add texture and colour. I don’t think the textures show well on the photos though.

A nice way to spend a Bank Holiday Saturday – being quietly creative and learning new stuff at the same time.


Entangled Art 18 August 2018

Angela Porter 18 August 2018

Planning a relaxing arty day, no digital art planned at the moment.

In the last couple of days, in between work for my next Entangled coloring book in the Creative Haven series from Dover Publications Inc, I tried something a bit different for me.

I tried drawing shapes for the design in colour first, then adding the black ink details over them.

For the completed design I used a Kuretake Zig Brush Pen and Tombow dual tip markers. I say completed, but I may return to it and add dome metallic/pearlescent/iridescent embellishments.

For the coloured design, without details, I used the same brush pen and Winsor & Newton Water Colour Markers.

I’m trying to decide if I’m going to add the details using a Uniball Unipin pen or whether I’m going to use a fine brush and watercolour.

Perhaps with this one I’ll stick with my Unipin pen(s) while creating a smaller, test piece for the use of watercolour with a fine brush.

I must admit, I do like the more graphic, high-contrast black lines, but I do think I have to give lines in colour a try.

Weekend relaxing with art, my #weekendvibes.

Your heart is a mosaic…

Angela Porter 15 June 2018 watermarked

I’m trying out ideas for making use of hand-lettered quotes with my kind of entangled art. This is today’s offering, and it’s part of my #fridayfeeling and #weekendvibes.

It’s unusual for me to leave so much white space in a drawing/illustration.

I used Towmbow Dual Brush Pens with a blender pen to colour the mosaic sections.

Friday is Dangle Day!

Angela Porter Artwyrd 29 March 2018 Dangle Cards

Angela Porter Artwyrd 29 March 2018 Dangle Cards1

That’s right!  From henceforth Friday shall be known as Dangle Day.  Well, on my blog and the other places I can be found on the interwebs.

As you may know, I have a book coming out later this year that’s all about drawing dangle designs; it’s called A Dangle A Day and is available to preorder now.  In it, I’ll be leading you through, step by step, drawing dangle designs, amongst other things, so you too can create dangle designs like these!  Yes, you can do it!

So, I plan to post at least one completed dangle project each Friday, and this week there’s a bumper crop of five of them.

The cards I’ve made over the last day or two are dangle designs, but not ones to be found in the book. These are all drawn with pen on paper and coloured with either Tombow Dual Brush pens or Kuretake’s Zig Clean Colour Brush Pens.  I’ve also added dots and highlights using Sakura’s Metallic and Stardust Gelly roll pens, not that you can easily see them in the photos.

I will, in the near future, have an announcement to make about a giveaway.

April BuJo setup and a look back at March

April’s BuJo

Angela Porter April BuJo Cover

I’ve spent some time today setting my BuJo (bullet journal) up ready for next month.

I decided I’d like a kind of mandala with dangles for the cover page, which you can see above.

I chose quite strong purple, purple-pink and green-blues for the colour scheme, with golden highlights.  Faber-Castell Polychromos and Caran D’Ache Luminance pencils, along with a blender pencil from Derwent, were used to colour the design.  I used various Copic Multiliner SP pens to draw the design.

Angela Porter April BuJo Overview and Trackers

After working with my BuJo for a month, I decided that I needed a different design for the Monthly overview, where I’ll add in my appointments and events later on. I also wanted to change my mood tracker to one that lets me track my  mood through the day.  I thought it would be a good idea to add the other things I want to keep track of – meditation, walking and hand lettering practice.

I used dangles to join the various boxes to the headers on this page.

I also used Tombow Dual Brush Pens to colour in the designs on this page; and you can see the key to the colours used on the Trackers page.

Angela Porter April Weekly Spread

I’ve also set up one of my weekly views.  I really liked having a page for week’s diary/notes and one where I can write my gratitude and memories.  It’s worked well for me the past week.

I will set up the other weeks as I head towards them through the month, but they’re likely to be similar with just different header and divider designs being used.

A look back at my first month with a BuJo

I’ve certainly had an interesting and fun time with my BuJo this month, and I’ve been finding out how it works for me.

My days are often very simple in terms of what I need to do, so I don’t really need or use large amounts of space for each day.  What I tend to record for each day is a list of tasks accomplished along with appointments.  The memories section is really valuable as well; for me a BuJo is more like a memory store rather than planning out my life in detail.

I’ve done a huge amount of work on collections; these include charms, dangles, bugs, botanical drawings, floral wreaths, feathers, crystals, cacti and succulents, and favourite patterns. My BuJo is becoming a kind of visual directory for me, which will be very useful as I look to start my next book project soon, as A Dangle A Day is nearly complete.

Creating the spreads is a rather soothing, meditative process for me, especially colouring.  It also gives me the chance to practice drawing dangles and other items too. I usually start my day be adding to a collection or colouring some of the drawings already done.

I do tend to keep a list of important things to do on a post-it note, but as I do them I write them down as having been done in the appropriate day.  I’ve mentioned it before, but I find ‘to-do’ lists not very motivational for me and a source of me beating myself up.  For me, lists of things I’ve achieved that day helps me far more.

I’ve added hand lettering practice to my trackers as I want to practice that a lot more.

Practice makes progress – a Dangle Design

Angela Porter Dangle Design 23 March 2018

I’ve just completed this dangle design, which features a very appropriate message.

Learning to recognise when something is good enough has been a hard lesson for me, but bit by bit I’m getting there.  The ‘practice makes perfect’ adage puts a lot of pressure on a person, so I much prefer the use of the word ‘progress’ instead of perfect.

No one has ever picked up a pen or pencil or other tool for the first time ever and created a perfectly wonderful piece of art. It takes time, patience, and, above all else, practice.

Mistakes are made along the way, or I prefer to call them ‘happy accidents’ or ‘creative opportunities’.  They allow me to reflect on what I have done, to learn, and to improve or extend myself as a result.  Sometimes, the happy accidents teach me something I never would’ve come up with, a surprisingly pleasing result which becomes part of my artistic vocabulary. Sometimes, they result in me changing what the artwork was meant to be into what it needs to be.

To be flexible and not too invested in a definite artistic outcome, is another lesson that imperfections, happy accidents, or creative opportunities have taught me. Learning to go with the flow and work with what happens instead of fighting it and trying to force it into what I wanted it to be, which often then results in a horrible mess of a work.

I’m happy with this ‘dangle’.  If I drew it again, there are bits I’d change. If I were to colour it again, there’s bits I’d change. However, it’ll do as it is.

I sketched the design on dot grid paper, scanned it and then drew it digitally using my Surface Pen on my Microsoft Surface.

Next, I printed it out on watercolour paper and used some Tombow Dual Brush Pens to colour it.  I didn’t use many colours at all; the blender brush helped me to achieve colour gradients.

I did use some Copic Multiliner SP pens to add some more details to the printed image and coloured image; I regret the stippling on the centre pot, but it’ll do. I’ll remember next time to use the little lines for added shading!

My book, A Dangle A Day, due out in September 2018 and available for pre-order now, will show you how, step by step, you can create similar dangle designs.

BuJos and Tombows


Bujo01

Tombow Dual Brush Pens

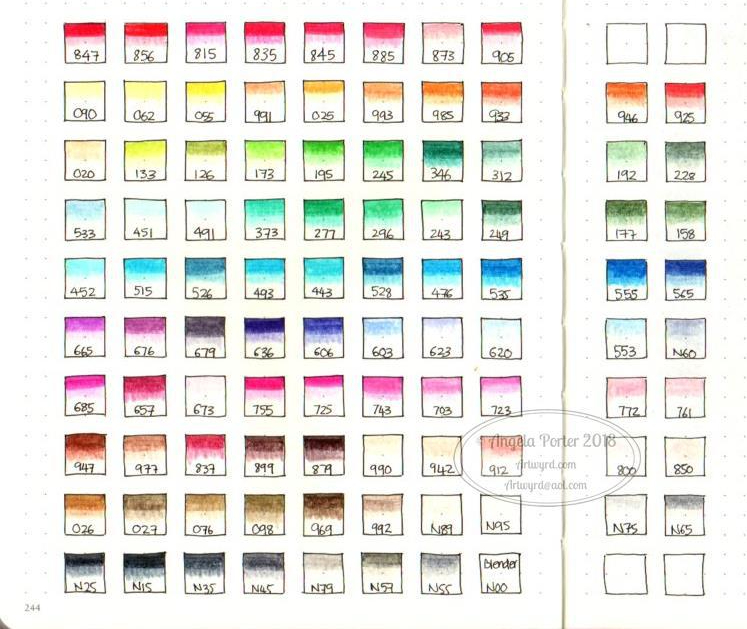
Today, I recieved a full set of the Tombow ABT Dual Brush pens and I’ve managed to swatch them out in my BuJo.

So far, so good.  They ‘stick’ a bit more to the paper in my Leuchtturm 1917 dot grid BuJo than the Zig Art and Graphic Twin pens or my Zig Clean Color Real Brush Pens, but I like the colour palette.  I’m sure I will get a lot of use out of them for sure.

BuJo

Talking of my BuJo, I’m going to bravely share some of the ‘spreads’ I’ve done and share some of my thoughts on BuJo and how it’s working for me so far.

Bujo02 There’s a lot of stuff out there about bullet journaling, and a good place to start is bulletjournal.com, the website of Ryder Carroll, credited with starting the bullet journal system.

What attracted me to this system is it’s total flexibility and how you’re encouraged to make it work for you.

Rather than planning my day out, other than appointments or important dates, I use mine more as a journal where I record what I have done that day.

I find lists of things to-do can be counter productive for me; if I don’t tick things off I can be very hard on myself.  However, by recording what I have done, that just feels far more positive to me.

So, I do have a couple of ‘trackers’ in my BuJo for things I would like to do on a daily basis.

Notice I wrote ‘I’d like to do’, not ‘I must’.  That takes a lot of pressure off me, as well as the guilt I can have if I don’t get done what I thought I could get done in a day.  I’m far more ‘productive’ if I just get along with things.  I’m lucky to have the luxury of doing this as I’m self-employed, as well as being an arty, creative person.

So, here are my trackers, as they appear in my BuJo:

Bujo03

Bujo04

Bujo07

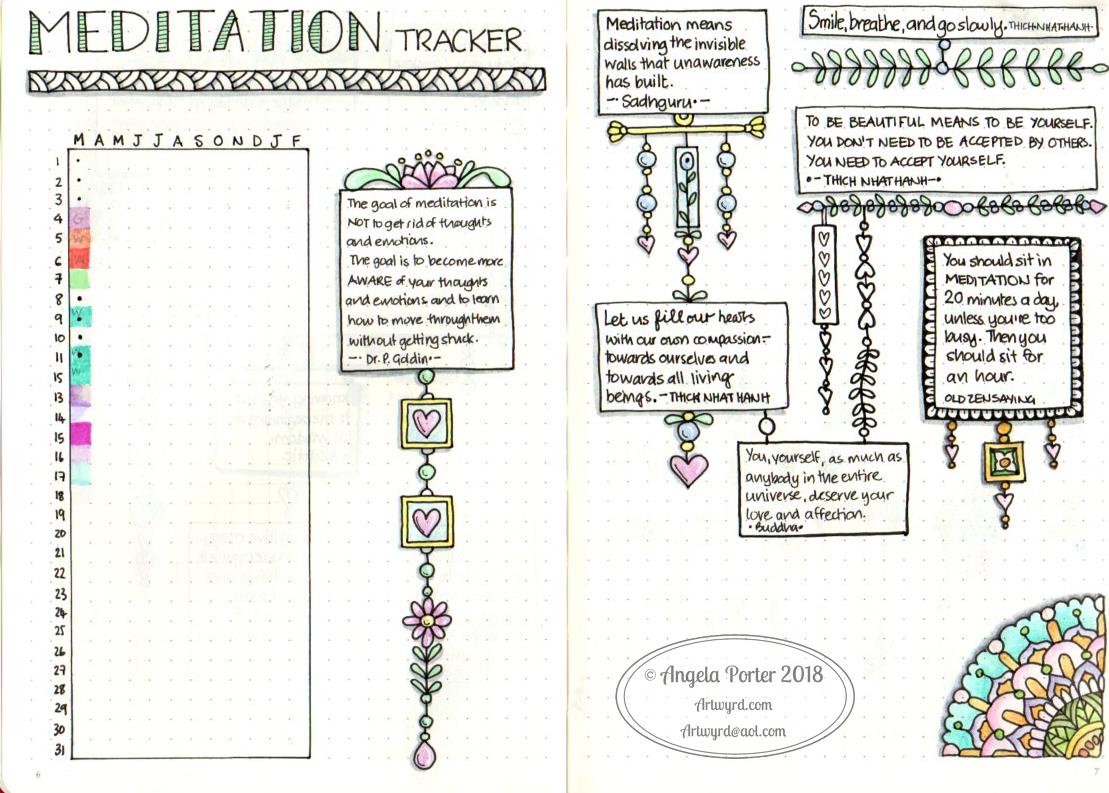
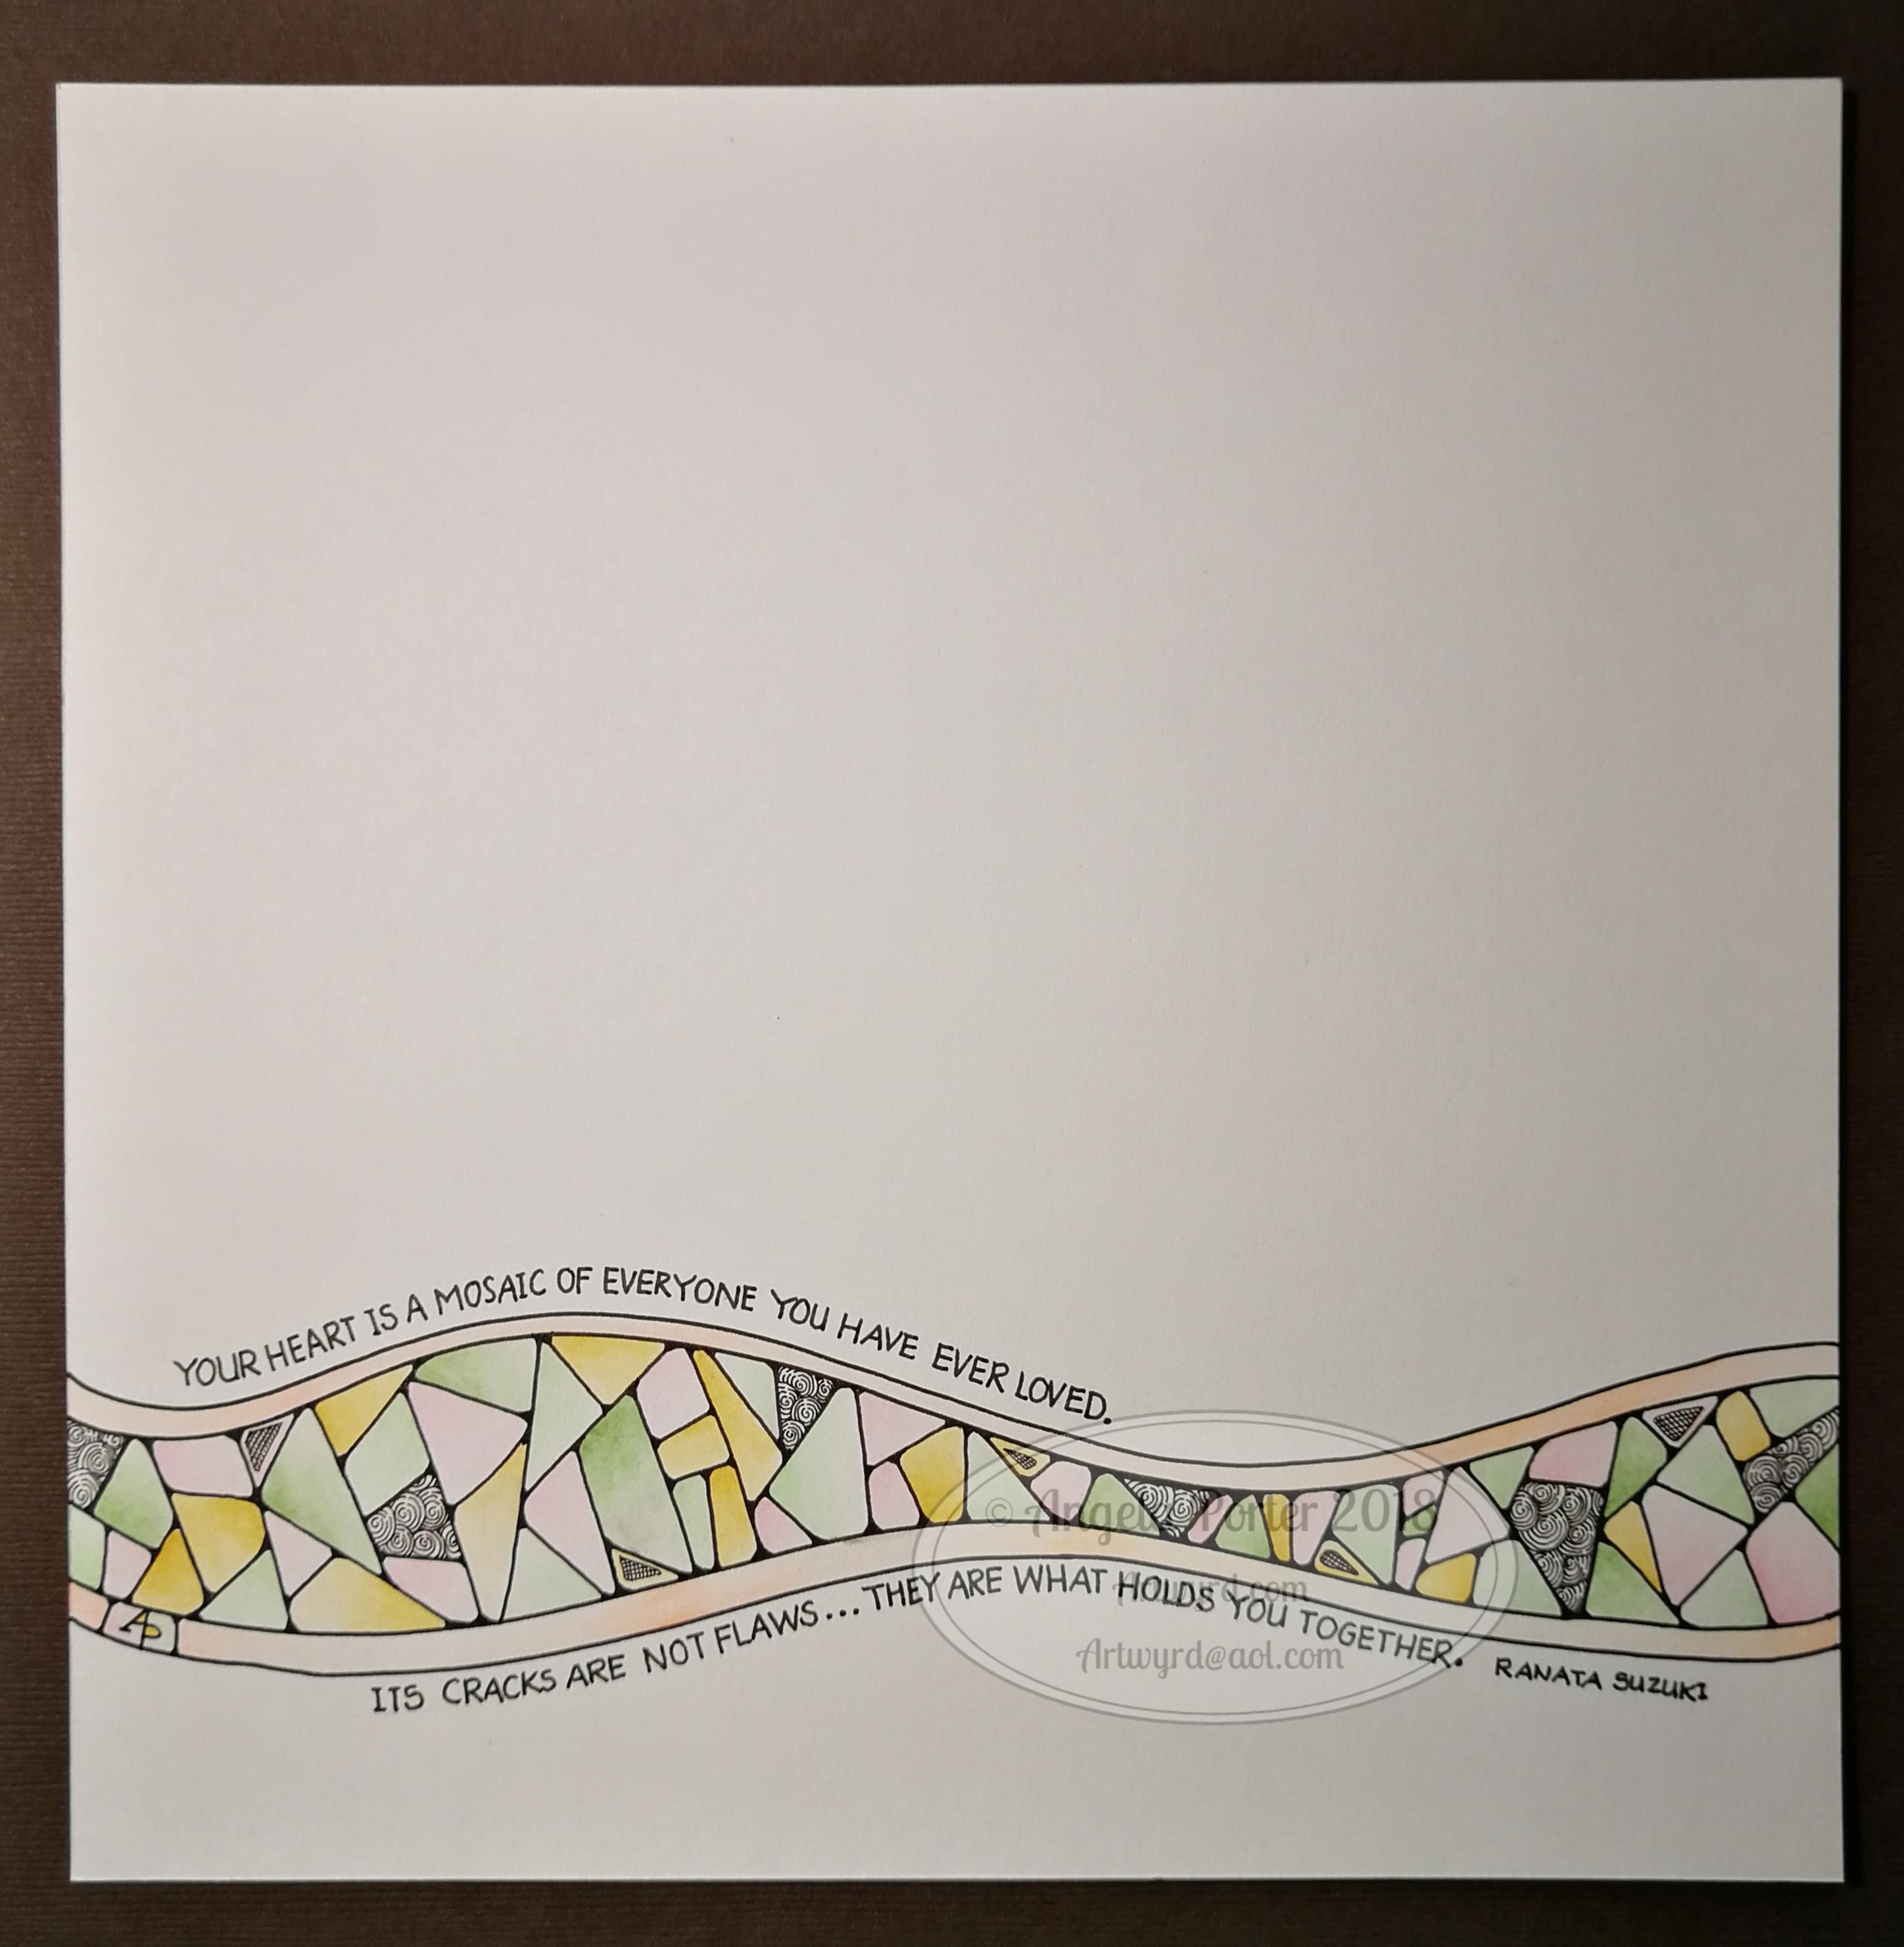
I’ve noticed I have some colouring to do on some of them.  I decided I’d like my trackers to span a whole year, which seems to be working fine for me now. I also wanted to add some of my favourite quotes to remind me of why I want to keep track of these things and their importance to me.

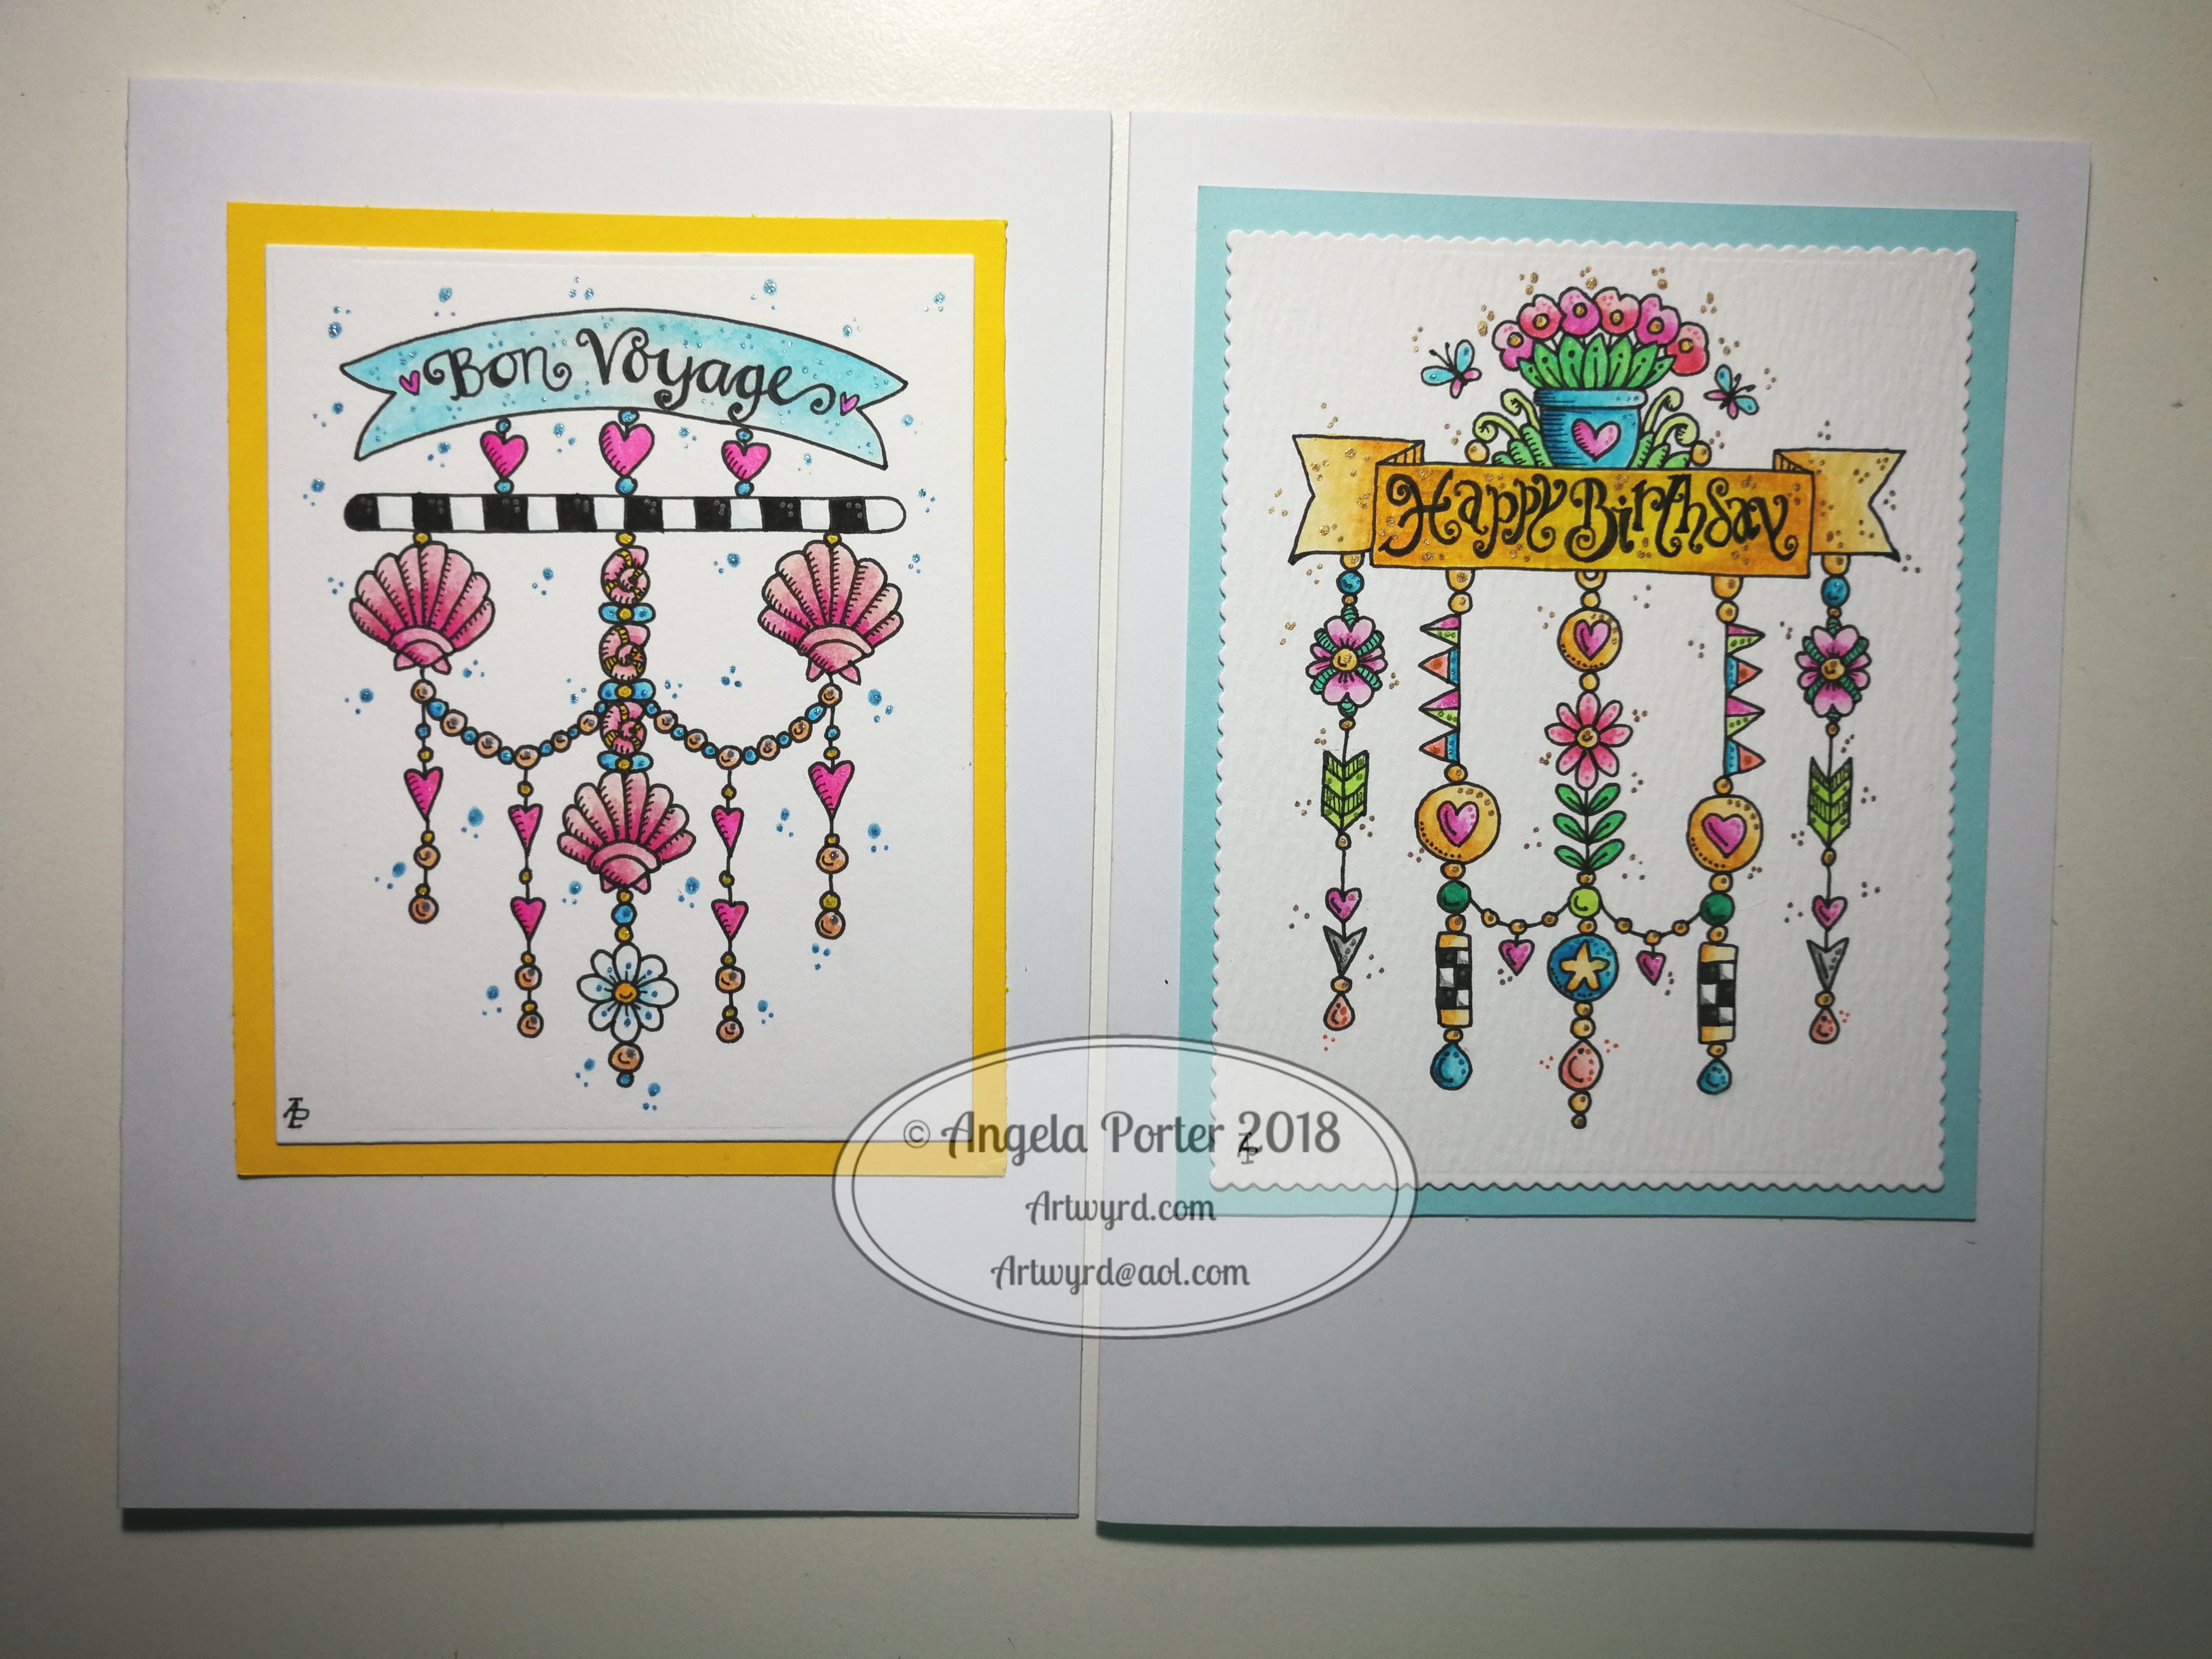
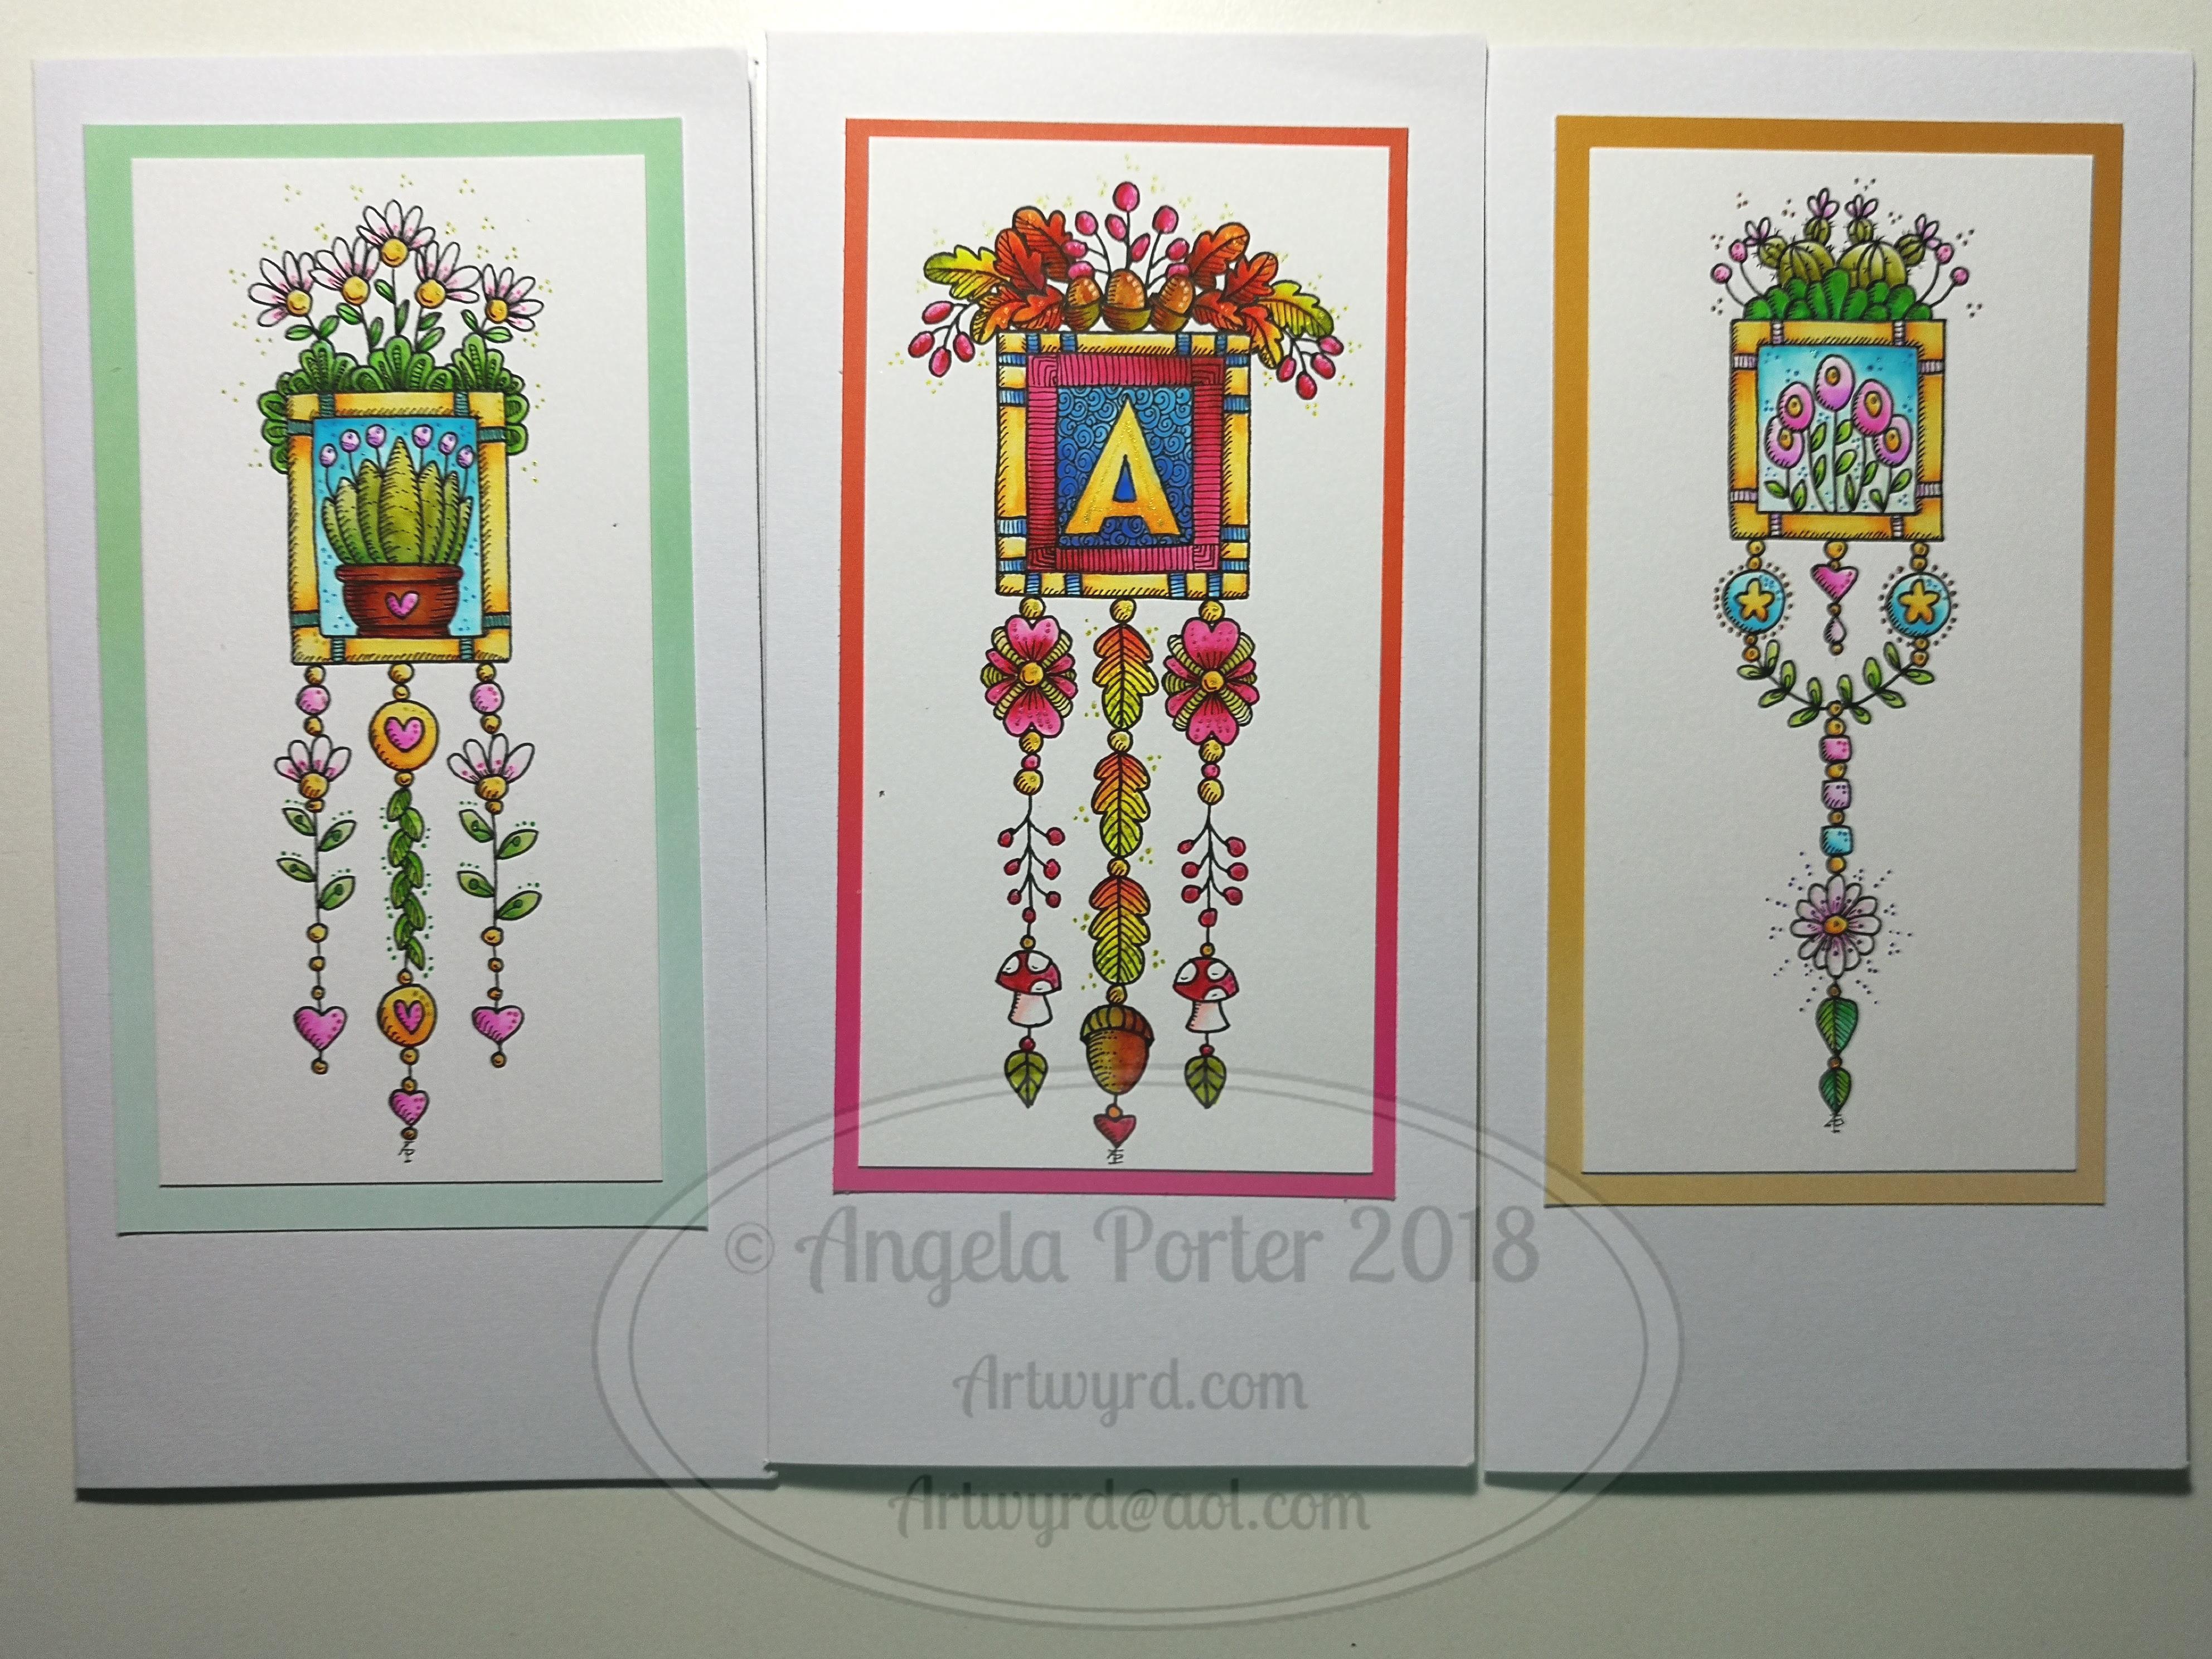
I decided to add the quotes in boxes, and connect them with strings of little ‘doodles’ called dangles (the book I’m working on – A Dangle A Day – is spilling over into other areas of my creative life!) I like how they’re not all symmetrical in shape and arrangement.

I like how I can use my BuJo for daily practices of all kinds of things from drawing to hand lettering.  I can keep lists and notes on things that grab my attention.  I keep pages where I write down notes and ideas; not to-do lists, just notes to myself, or things I need to ask others about.

I have sections with botanical doodles/sketches, a list of sizes of picture frames and mats, the size of card blanks.  I have examples of hand lettering alphabets, with notes about them.  I have dangle directories too, a result of my work on A Dangle A Day.

The index is invaluable in helping me keep track of the collections, especially when they occur over multiple pages with other stuff in between.

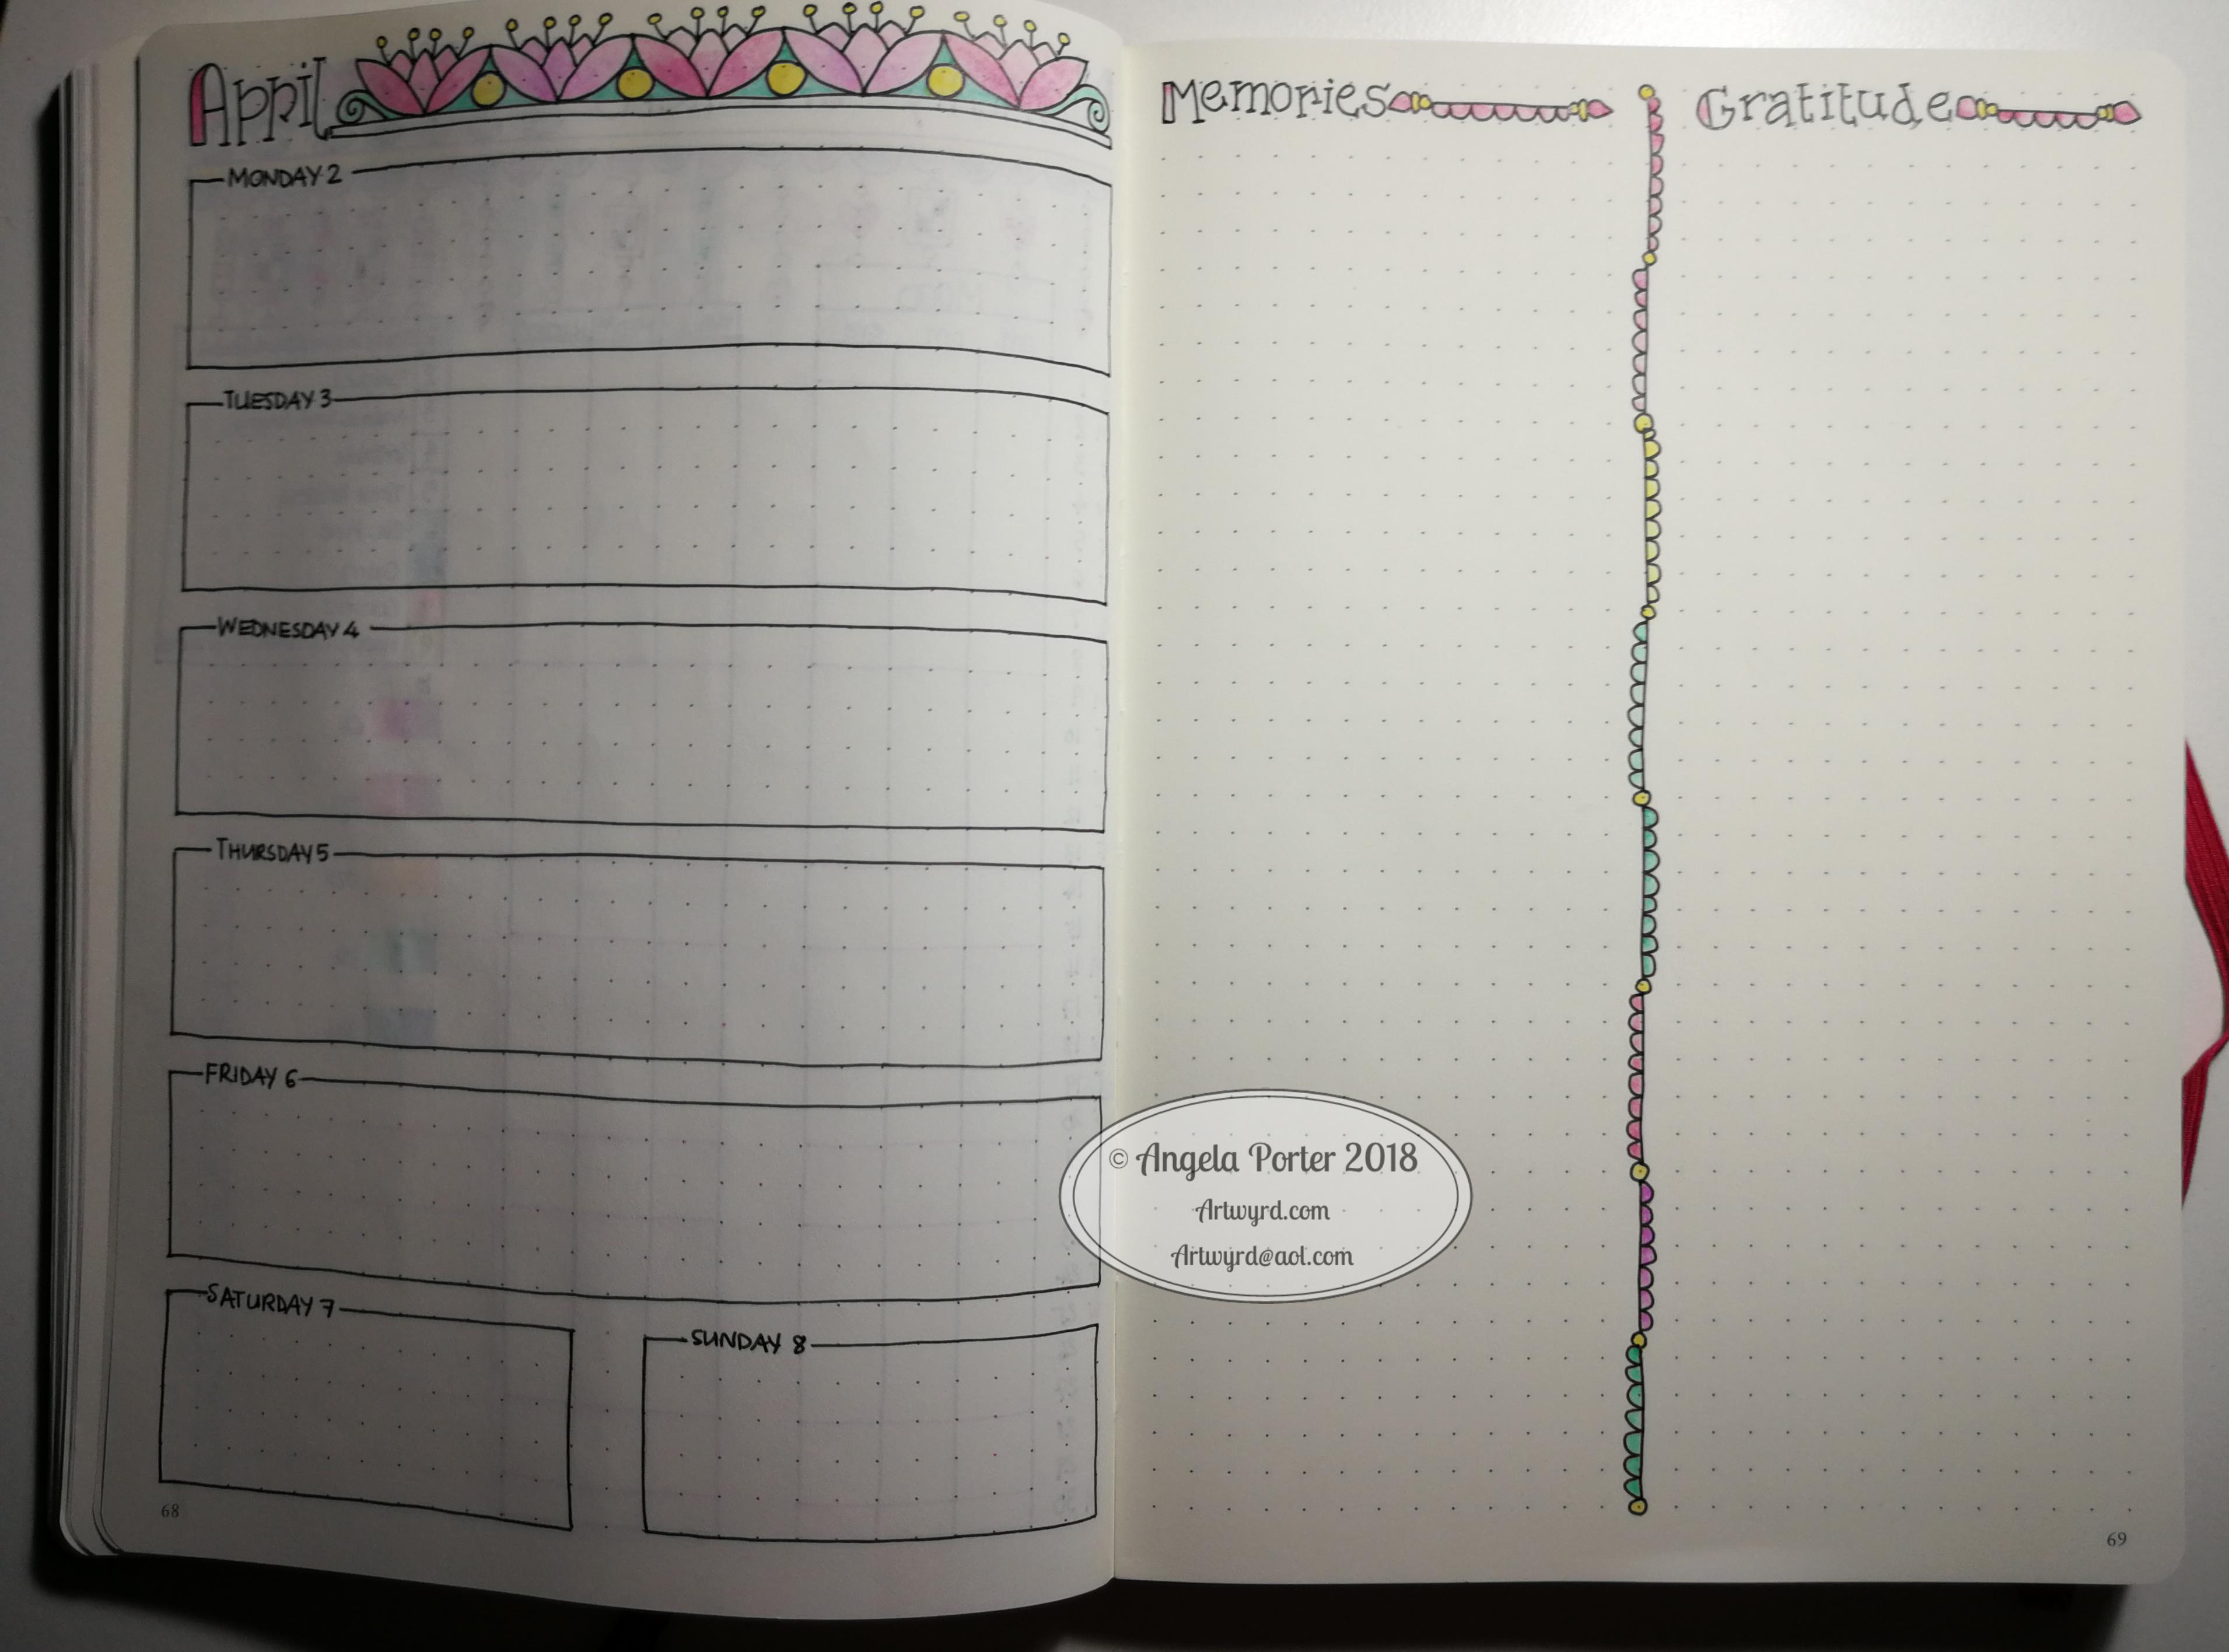
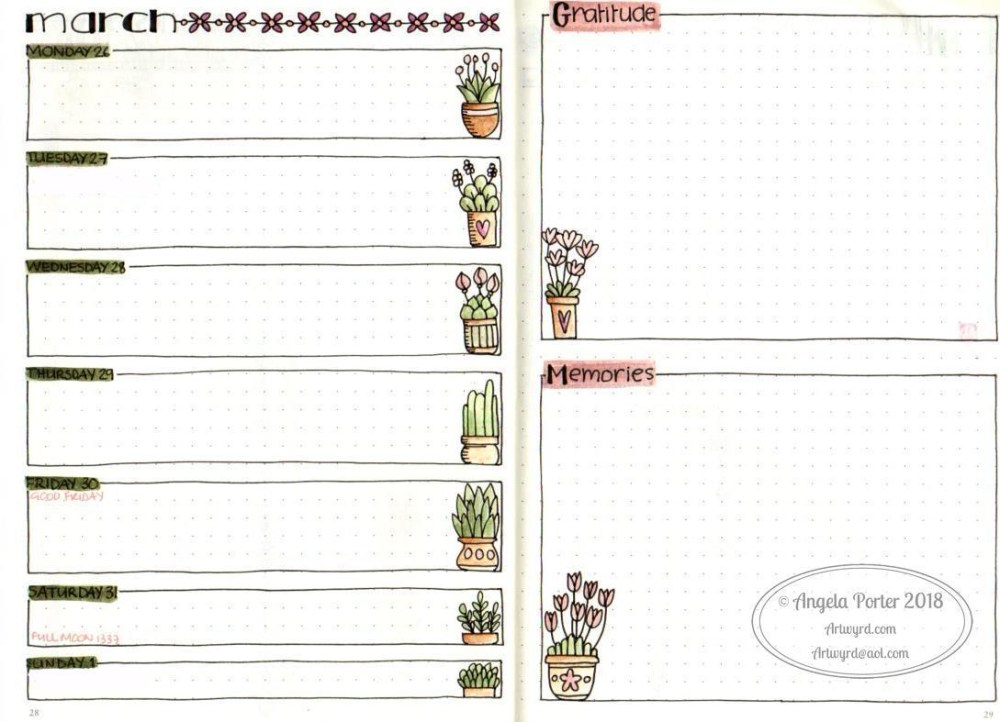
Of course,  I also have weekly ‘diary’ pages, and I’ve been trying out different formats for them, including these:

Bujo05


Bujo06

I’ve changed my monthly view for April, and here it is:

Bujo08

The one for march didn’t have any room to write appointments or events in.  This one certainly does.  Not sure what I’m going to put on the right hand page yet, though I couldn’t resist drawing part of a mandala there.

I’ve found it is easy to get lost in bullet journaling; especially the creative parts. That’s fine when it doesn’t take me away from things that must be done, such as doing books. But it’s a different way of practicing drawing, hand lettering, organising thoughts/interests/memories/ideas and so on rather than in multiple books (journal, diary, sketchbook, note book) – they can all go in one book.

If you’d like to see any of these, let me know and I may share some, or little tutorials on how I draw stuff.

The flexibility and the ability to change what doesn’t work easily is the biggest draw, as well as the ‘permission’ to do what you need to do, what is right for you.  There’s no shoulds or shouldn’ts about it.

The other thing is not to get hung up on perfection.  I get things wrong in it all the time, or don’t like what I’ve done.  These can be ‘fixed’ by the use of correction tape or sticking a new piece of paper over the mistake if it’s a biggie. I just have to remind myself it’s a work in progress, it’s hand-made (well the content is if not the notebook itself), and it will help me, I hope, to accept that something is ‘good enough’ without it having to be perfect in all ways.

I already really dislike the heading for my Mood Tracker, but it’ll do for now.  I may change it with paper and sticky stuff.  Or I’ll just leave it so I can see how my hand lettering progresses over time.