Holly Mandala – Version 2

© Angela Porter 2018

I woke early this morning, it was still dark. The night has now lifted to reveal a dull, grey, misty, damp morning here in the Valleys of South Wales.

I wanted to re-colour the holly mandala in a more traditional colour scheme of red, green and gold, and so I have done so.

The colours help to give an illusion of dimension to the concentric rings in the design. Of course, the colours are kind of my signature – bright and jewel-like. I chose to change the background colour from stark black to a very dark, inky night-sky blue. I did add some lighter texture to the background to break the colours up just a tad.

It’s worked out ok. I think I prefer it muchly to the green foil version. The foil images are fun to do, that’s for sure. And of course they’ve allowed me to work out another way of creating art digitally, which is essentially by removing black to reveal the design. This has resulted in me drawing my motifs in a slightly different way to how I’d usually do them. They definitely have more of that lino-cut feel to them with the simplification of designs and lines. I like that.

I also like how the holly berries in the outer ring seem to be floating above and below the leaves. That wasn’t intentional! It’s just how it’s all worked out.

Sprinkling stars everywhere is one of my favourite things to do it seems and they do add a little magic to this design for sure.

Which version do you prefer? This one or yesterday’s green foiled version?

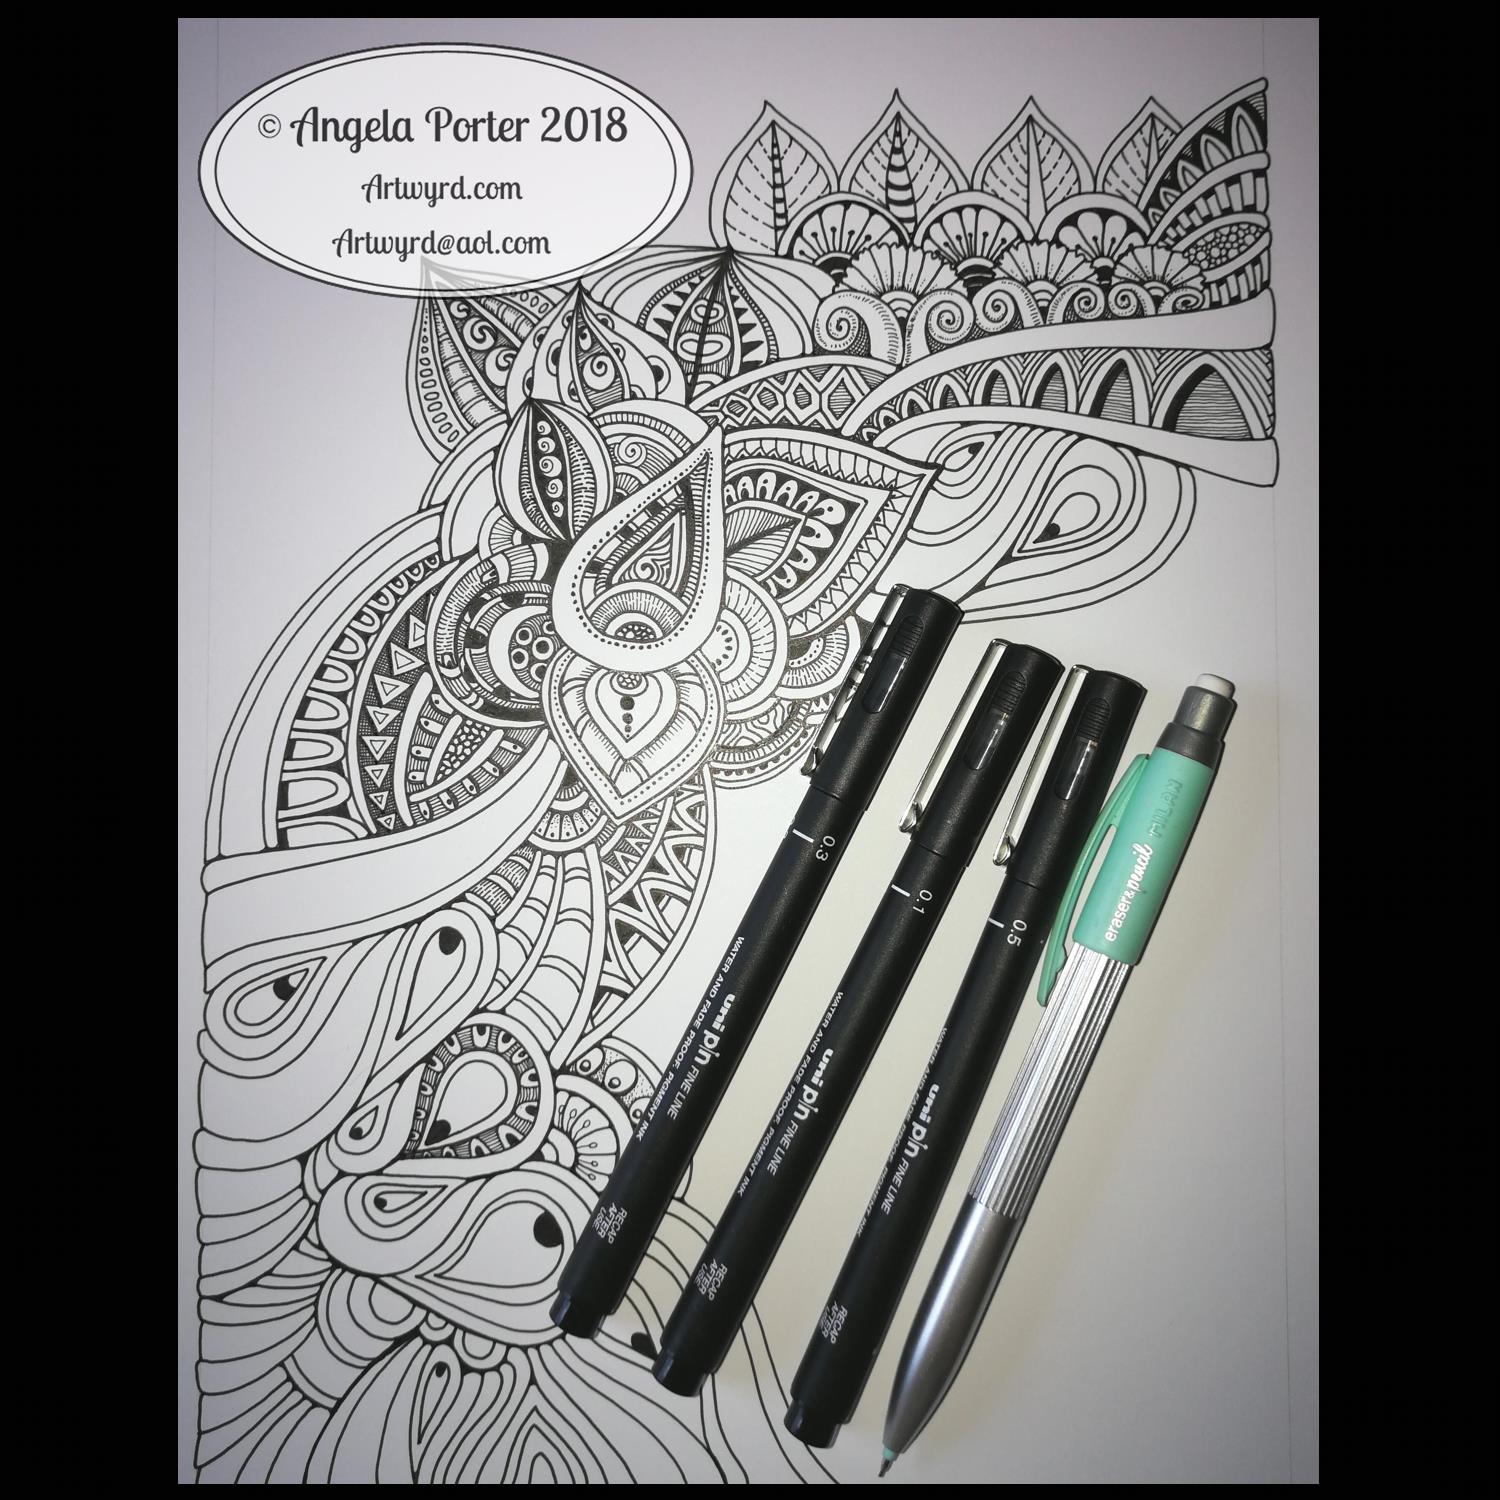
Tools used – Microsoft Surface Pen and Surface Studio. Autodesk Sketchbook Pro.

Holly Mandala

© Angela Porter 2018

Holly is the major motif in this mandala, along with stars and geometric patterns.

Again, it’s a mandala I’m pleased with. The green metallic designworks quite nicely with the stark black background. I like the simplicity of the motifs too; they remind me of lino cuts just a little.

This one was, too, created with a Microsoft Surface Pen and Surface Studio along with Autodesk Sketchbook Pro.

Mongram B

© Angela Porter 2018

One monogram dangle design, three different versions.

The first is just the black and white line art. This was drawn with Uniball Unipin pens on dot grid paper then scanned in so the dot grid and faint marks could be removed as well as making a transparent background. This dangle design is much more ornate in terms of pattern than is in my book ‘A Dangle A Day’ but is still easy to do if a bit time consuming.

The second is the line art coloured digitally with some texture added.

The third has the coloured line art floating on a golden sheet.

I’ve not quite managed to get my head around how to convert the black and white line art into golden line art where I can add colour. I suspect it’ll have to be re-drawn, which I’ll most probably do while I’m waiting for a delivery.

I kind of like the gold background, but it is a bit too much as well.

Which version do you like best? Let me know your thoughts!

Hand lettering all done!

©Angela Porter 2018

I finished this up this morning, now the migraine has lifted. I completed the embellishment of the letters. The next task was to scan the work in and remove the dot grid background in GiMP, as well as tidy up any smudges and so on.

Once I was happy with the result, I printed out the words so I could colour and add metallic highlights.

To colour, I used Chameleon Color Tone marker pens. For the metallic highlights (dots) I used a mixture of Uniball Signo glitter gel pens and metallic Sakura Gelly Roll pens.

Adding colour really helps with the read-ability of the letters. I chose to add simple color gradations and kept to one colour for each day of the week.

I really enjoyed doing this – it started as a sketch and I’ve ended up with some hand lettering that looks quite nice.

I will, at some point, do a sampler of this hand lettering style. That would be a great reference for myself, but perhaps a source of inspiration for others.

I’ve mentioned it before, but I really want to create a dangle design monogram for at least one of this style of lettering. I think that’s the next thing on my list of ‘to do’s’ on a day where I’m taking it all a bit easy; although the migraine has lifted I still feel a tad ‘fragile’.

Hand lettering and monograms are an integral part of my style of dangle designs. Although lettering as complex as this isn’t covered in ‘A Dangle A Day’, I still offer suggestions and step by step instructions for creating dangle designs. 

A Dangle A Day is published on 8th January 2019. 

Snowflake Mandala – WIP

This one is very much a work in progress. Drawn using a Microsoft Surface Pen on the screen of a Microsoft Surface Studio, I made good use of the symmetry tools in Autodesk Sketchbook Pro.

When ice crystals form they have a symmetry based on hexagonal shapes, so my mandala is separated into 12 sections, though I’m choosing to bring out the six-pointed patterns in different colour schemes.

I’m not sure if that makes sense – I know what I mean!

Of course, there’s only so much pointy-ness I can have in anything I draw, so curves have to make an appearance. And this is very much apparent in the fine detailed patterns within each section. Here I’ve used simple line patterns to more complex pattern fills using spirals and swirls. I’ve played around with adding a drop shadow and a highlight to these patterns to add a sense of dimension, not that it’s easy to see in a low-resolution image for the web.

I do like my colour choices of cool purples, blues and aquas so far. I think I’ll go with a more blue-purple to complement the purple in the design so far.

I do have an idea or two as to what I can do about the black lines as well, though they may not work out. As I’ve said often before, I do like black lines in my art; I like the way they define spaces and patterns and often give that feel of ‘stained glass’ to my work. However, sometimes I think they look a tad childish too, but that’s mostly on days where I doubt myself an awful lot, rather than the usual little to a lot.

The design isn’t quite as open as perhaps a snowflake is considered to be, but I rather like filling spaces in, though I may leave some of these spaces open so the background, when I add one, can shine through. That means I may end up erasing some of the colour I’ve added already to created a more open feel to the design.

It’s a lovely way to spend a Sunday morning, especially now I’ve finished downloading all the Amazon invoiced for the last financial year in preparation to getting my accounts to my lovely accountant, Leah.

Noel – Entangled Design

©Angela Porter, Artwyrd.com

I always have fun when drawing and creating, including this design. In it I’ve combined some of my entangled design elements along with winter/Christmas doodles. 

To start, I hand lettered ‘Noel’ using a guide for the shape of the lettering I wanted. Then, I printed it out so I could add the black and white line art using a 0.8 Uniball Unipin pen.

Once that was done, the finished lineart was scanned back into the Microsoft Surface Studio, a transparent background created and some smudges cleaned up. 

Finally, I could colour it. Today, I chose to use the color gradient tools, which does make the job of colouring a bit quicker, but it also results in a rather ‘shiny’ look too. Or perhaps that’s simply due to the colours I choose for the gradients.

I had fun adding the glowing stars and sparkles to this one, though I’m not sure I’ve got that right.A nice way to spend the morning and early afternoon as the weather has been wet and very windy at times here. 

Abstract Entangled Art – WIP – 20 November 2018

Today I thought you’d like to see my current work in progress, including the tools I’m using for it – Unipin Pens from Uniball and a mechanical pencil.

The pencil was only used for drawing the margins delineating the space within which I’m working. This helps stop me run off the page as well as keeping my mind’s desire for straight-ish edges happy.

This has already taken some hours to complete; I’m not sure how many as I don’t really keep track of my time. I know that I may get it finished at some point this evening (I’m writing this mid-morning UK time) if I manage to get all my errands and other tasks done in a timely fashion.

My process is quite simple really. I start with a motif somewhere on the page, a simple outline shape. I then add detail to this shape. I then let shapes flow out from this point, first drawing the foundation lines, then adding the detail.

Finally, I’ll decide if I’m going to add shadows/shading and with what medium I’ll do that. Sometimes I may decide to colour the image, or digitally alter the colours of the lines or background.

If I decided to draw digitally, my steps are the same, though I may start with a sketch on paper of the main lines in the design so I can make sure I have some reference to the actual scale of the design.

Oh, and I rarely draw in pencil first when I work directly on paper. The only times I do is when I may use circle stencils or french curves to add a large curve/shape. Mostly, it’s pen without any pencil guides.

I work very intuitively; I just let the lines and patterns flow in a way that is pleasing to my eye and mind at the time I draw designs such as these.

Abstract Entangled Art 18 Nov 2018

Another abstract entangled drawing for today. The original art is black and white line art with grey shadows and shading. It’s been drawn on A4 acid-free paper. I used various sizes of OHTO Graphic liner pens for the line work and Chamaeleon Color Tones cool grey marker pens for the shading.

However, I’ve altered the colour from black and grey pen and ink to a gradient of blue, purple and magenta digitally, just as an experiment. I’m really surprised with how the grey shadows/shading has turned out – pleasantly surprised and really pleased.

A nice start to my Sunday, a day to be filled with art and completing the transfer of information into my new bullet journal.

Abstract Entangled Art 14 November 2018

Angela Porter 14 Nov 2018small.jpg

Just a quick post today; I have a busy day with media training for Time to Change Wales at the Mind offices in Cardiff.

Feeling a bit panicked about parking somewhere I’m not familiar with and then walking to another place I’m not familiar with and doing something with people I don’t know.

It will be fine I’m sure.

Yesterday was very much a day of being kind to myself and taking care of myself. Therapy on Monday really caused some fall out and I was emotionally exhausted yesterday (and I think that is lingering today).

So, one way I take care of myself is to draw. This time, however, I lost myself in drawing detailed, abstract entangled art, like this one above. I do have another on the go which I’ll be hoping to complete tonight as part of my self-care after the training today.

I drew this using Sakura micron pens on dotgrid paper. After scanning into the ‘puter I used GiMP to remove the dot grid. Autodesk Sketchbook Pro was  used for the finals steps of adding the background and watermarks, as well as placing the artwork on a black square so the image fits nicely in Instagram posts.