This morning I’ve focused on work for my next Creative Haven coloring book and I wanted to create some borders I could use for the templates.
These are all approx 2cm (about ¾”) wide. When I was colouring templates for Entangled Gardens, I realised how much I enjoyed not only colouring the border but the finished feel it gave to the templates.
So, I want to build up a library of ready-to-go borders.
Some are organic, others geometric. Some more ornate than others. they are all devoid of any guide as to shadow as that then leaves it entirely up to the colorist how they approach the template.
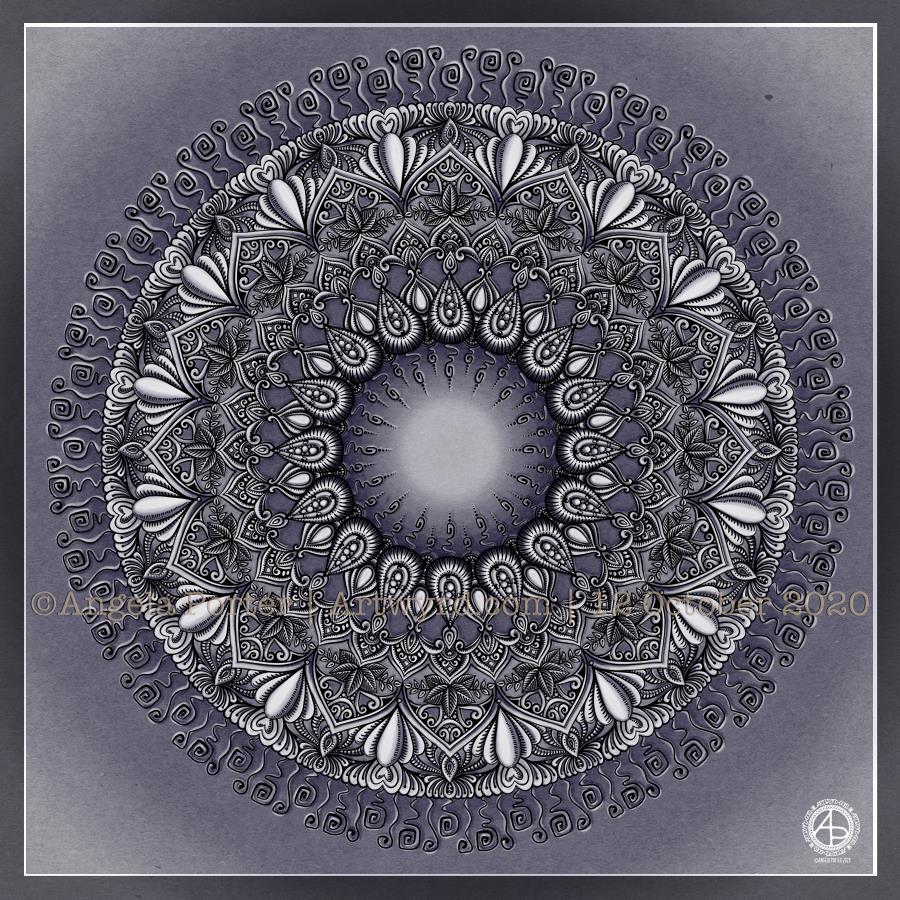
It’s always a lovely way to start the day – mandala drawing. Symmetry is one of the things that I love.
There’s also plenty of detail in this one – lots of line work to add dimension, which is then enhanced by highlight and shadow.
I chose a rather muted kind of background for this mandala. Sometimes, I tend to make things too bright and colour-saturated. Today, it’s soft and dusky purple.
There’s plenty of my favourite kinds of patterns and motifs in this one – seed pods, arches, spirals, leaves and hearts. But there’s also some unusual, for me, spirals.
This morning’s art brings a warm and gentle smile to my heart, soul and my lips. As I said, it’s a lovely way to start a day and sets me up just nicely for whatever else I need to do this day, and the first task of the day will be breakfast!
Today, I continued with the entangled art I started yesterday. The drawing is still not complete, but I wanted to add a background colour/texture and add some shadow and light to see how it’s working out.
The shadow and light bring the drawing to life. I’m not entirely sure about the colour I’ve chosen for the background – maybe a bit to saturated and dark. I can always alter that though. I also think there’s not enough contrast betwixt shadow and light. Again, that’s something I can work on.
I’ve drawn inspiration from various things – fossils, seed pods, botanicals, crochet-covered pebbles, architecture, nature, shells, Mayan glyphs to name a few.
Leaving some more open spaces is proving difficult for me once again. It’s something I need to consider as I continue to work on this drawing.
The design is being drawn with Unipin and Sakura Micron pens on marker paper. Background texture/colour, light and shadow are added digitally.
I had to take a totally different approach to completing this piece of typographic art – pencil drawing the design and letter outlines on paper before inking and scanning into the computer.
Once scanned in, I could clean the image up, fill the shapes with black. I learned how I could use some of the tools in Autodesk Sketchbook Pro to do this. However, in black and white the artwork looked just so flat and dull.
So, I added a chalkboard background in a lovely sea blue (ammonites were denizens of the oceans after all!), and added a colour gradient to the typography.
It then looked a bit better. But I thought I’d try adding highlights and some shadows. And that just did the trick and I was finally happy with what I’d produced. It was good enough for another step on my typographic art apprenticeship.
That doesn’t mean there are things I wouldn’t do differently the next time I try something like this. My hand lettering needs a lot of work on, as does my attention to the letter weights too. I’ve just realised that I meant to draw tiny ammonites in the dark blocks between words as spacers. Also, I could’ve spent a lot of time tidying up the lettering digitally.
I also learned that working on paper gives me a much better overall view of the design and how things sit together. For some reason I struggle with this when working digitally. It may be that digitally I can zoom in and out and often work unaware of what is around the design. With paper, that overall perspective is ever present.
Digital art is something I love to work with, but I’m realising that I do need to work on paper too, even if it’s a sketch or drawing that can then be enhanced, edited and completed digitally.
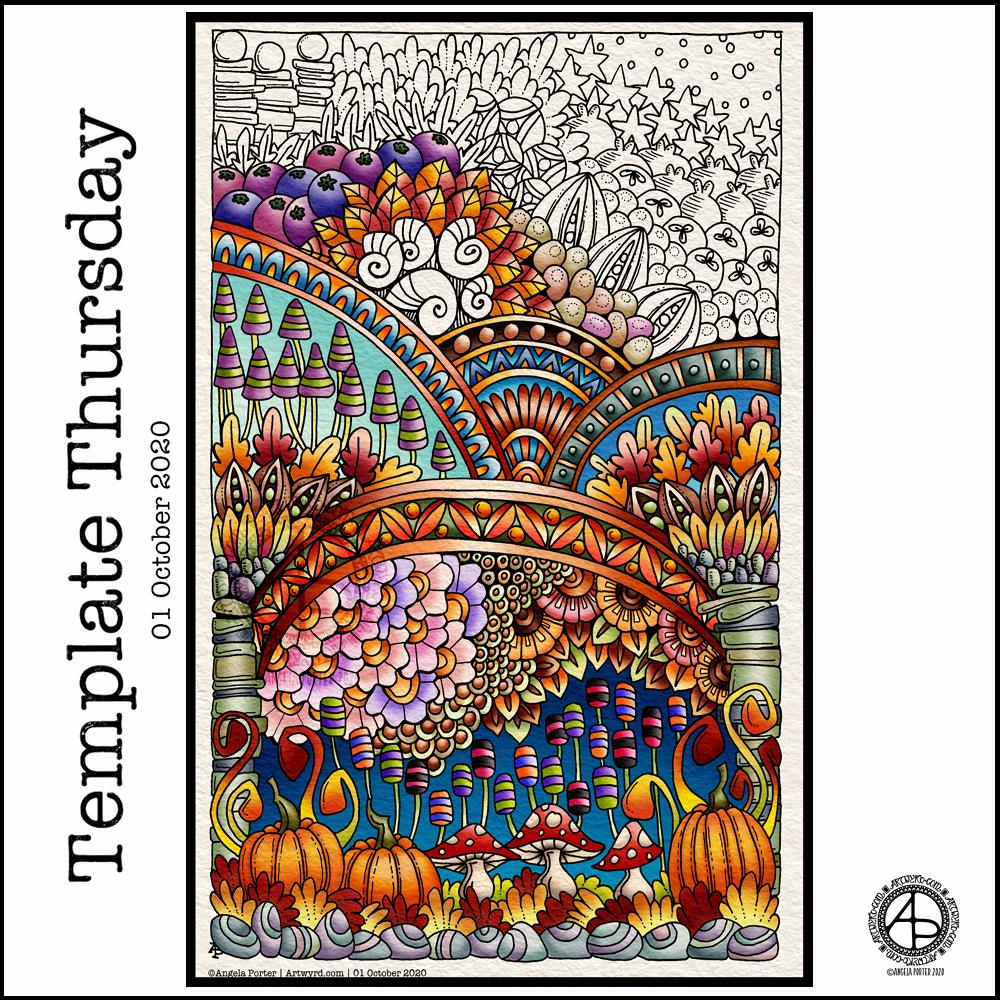
This week I’ve done a pretty yeuchy job on the colour scheme. It happens. I do struggle with colours, more at some times than others, and today is one of those days.
The template itself has lots of my favourite motifs in – pumpkins, leaves, flowers, seedpods, seeds, berries, shells, mushrooms and stones. Not to mention arches and geometric patterns along with a sprinkling of stars.
I’ve gone with a weirdly autumnal colour scheme, but I think this would work for any kind of colour scheme you’d like. I may revisit this template and add linework and keep it monochrome at some point in the future. It would be good practice to redraw it digitally and work on my digital linework skills at the same time.
I used Unipin pens and Canson Marker paper to draw the template. Next, I used Autodesk Sketchbook Pro to clean up the image and then add the colour.
To Inktober or not Inktober? Nah, let’s Paleotober instead!
I may do an Inktober challenge this year, but again choosing an alternative prompt list. I enjoyed last year’s month of daily drawings focusing on art I’d not usually do, particularly the skulls. However, I found the pressure to draw every day a bit much and a bit manic to work in around everything else I needed to do.
I like that each theme covers a few days, so less pressure. I have been thinking of working on drawings of fossils, dinosaurs and so on in the way I have my recent drawings of moths. So, this is the push I need to get me to follow those thoughts!
I must admit, the sight of an ammonite, icthyosaur and pterodactyl, three of my favourite fossils, on the prompt list just did it for me!
I think I’m going to struggle with the imagined and speculative prompts, but I may just use those days to add to one of the others. We’ll see.
In other times, I’d visit my local musuems to view fossils and such like for myself, sketchbook and camera in hand. But not now.
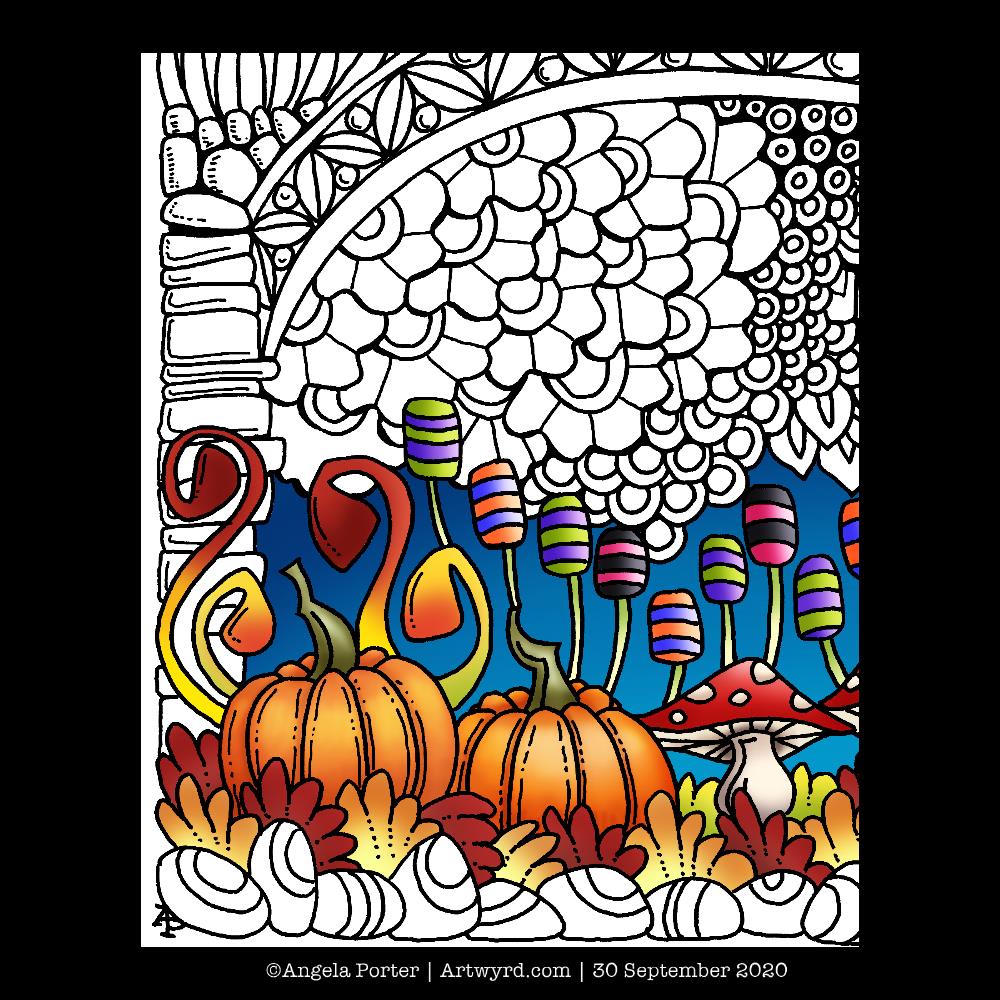
I spent the morning, before running some errands, drawing tomorrows colouring template for the members of Angela Porter’s Coloring Book Fans facebook group. On my return, I scanned it in, cleaned it up and started adding some colour to it.
So, today, I thought I’d share a sneak peek of part of the template. Tomorrow, it’ll be revealed in all it’s, ermm, entangledness, and will be available for members of the facebook group to print and colour.
Drawn with Unipin pens on Canson marker paper. Colour added digitally using Autodesk Sketchbook Pro.
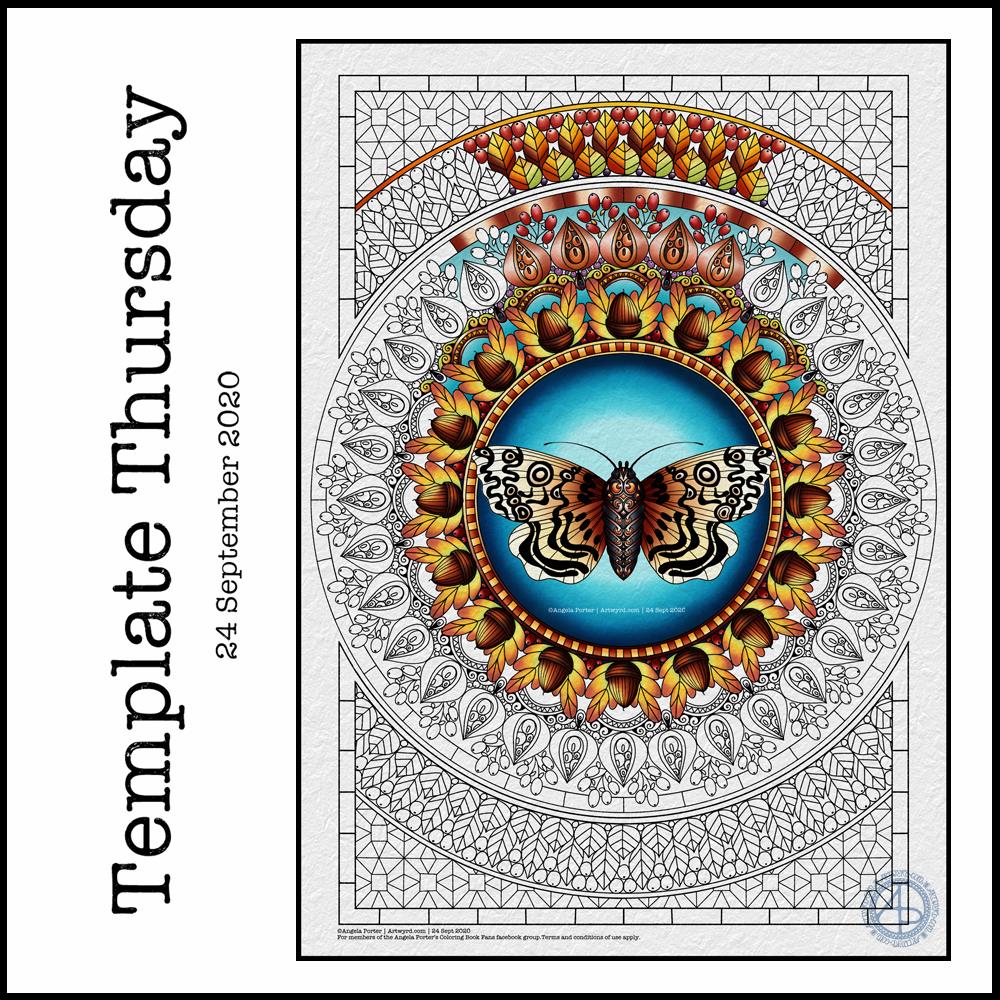
‘Tis coloring template day for members of the Angela Porter’s Coloring Book Fans facebook group. Each Thursday throughout the pandemic, I’ve created a coloring page for members of this facebook group. The template is free to members, and it’s free to become a member!
This week’s features an iteration of one of my moth drawings, this time drawn with colouring books in mind. I just had to pair the moth with a mandala as that’s been my ‘thing’ for a few days now. Naturally, the mandala is less detailed than my drawings and the page is mostly filled with pattern and interest, as is my style for colouring templates.
I have autumn on my mind and in my heart, so the motifs reflect that – acorns, seed pods, berries and leaves. I’ve chosen autumnal colours to partly colour the template, but any colour scheme would work – a good thing for those of you in the southern hemisphere where spring is on it’s way.
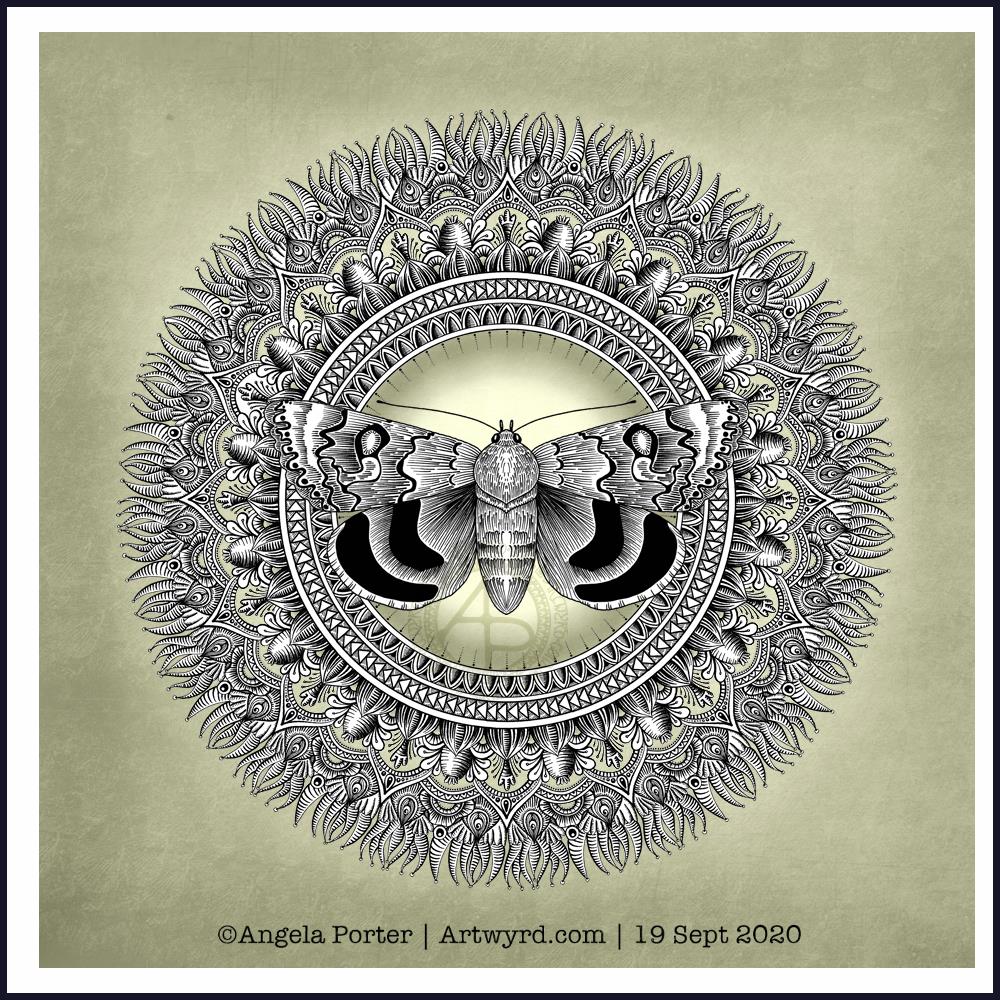
A new moth design this morning, with a subtle mandala background. Perhaps a little too subtle when the image is reduced in size and resolution for social media.
The moth is very ‘graphic’ and stands out well against the background, but the background has plenty of interest as well.
I really enjoy adding the glowing centre to the mandala, which also helps the moth to stand out. There’s a feel of the moth having been attracted to the light.
I have been working on the moth drawing from yesterday. It’s a long, laborious, yet enjoyable process. So, this afternoon I thought I’d create a mandala to sit behind my moth illustration.
I’m quietly pleased with this one. I like the choice of colour for the background, even though it’s an unusual choice for me. The central glow and shadow helps to lighten the background a little and brings attention to the moth, which is the main motif in this design.
I decided to use just black and white for the moth and mandala, though there are places in the mandala where I’ve let the background show through.
I will continue to work on the other design, it’s just going to take me a couple, or even a few, days to complete.
This morning, I wanted to start a new entangled drawing. But what to draw? I wasn’t in the mood to do another monogram, especially as there are some ideas on the periphery of my conscious mind about monograms. I thought about drawing a skull, something I find interesting, but that didn’t feel right either. But the idea of a moth flittered into my mind, so that’s what I went with.
I drew the moth digitally, in Autodesk Sketchbook Pro, simply because I wasn’t quite sure how my pen work would work on a moth, and I also like to use the symmetry tool. I’m fairly happy with the results. I started to add my entangled style motifs around the moth, and came up against two issues.
The first issue was that I would lose the detail around the head and antennae and I needed to come up with a way to preserve that. I came up with the idea of a simple circular border below the moth. This will also give me the option of adding colour to the central circle when I’ve finished the artwork.
The second was more of a problem – the sense of proportion. I have no idea why it’s so hard for me to work digitally on entangled drawings like this with a proper sense of proportion compared to the main motif or the printed size.
It has to do, I think, with the ability to zoom in to draw small details, which results in me adding too much detail. The only solution was for me to print the moth and circular border out and then for me to draw on that.
The only thing I wasn’t happy about in doing this is that I have a laser printer. That affects the surface of the paper in a way that my Unipin pens don’t like it. Also, I can’t print on marker paper.
So, I’ve started to add entangled artwork to the design. I can now see that leaving edges of the upper wings white would help them to stand out. That is something I can adjust digitally when the design is finished.
I feel so much happier working on the printed image. I do need to consider changing my printer, however. Though the laser printer is quick and economical, the print quality of line art isn’t the best. There’s also the issue of the way the surface of the paper is changed once it’s been printed on. I shall think on this in the coming weeks and before the toner needs replacing.