Over the past two or three days, Ive been making ‘inchies’ and decided it was time to put them together as a mixed media artwork, which isn’t yet finished, as you can see above.
Inchies are 1″x 1″ pieces of art, though I have made some 1″ x 2″ tiles too.
There is something very satisfying in making such tiny pieces of art, and it’s nice to turn them into some kind of mosaic. I’ve chosen inchie (and betwinchie) tiles that say something about me, some of them quite literally by the words on them, others more symbolically.
Making the inchies and betwinchies
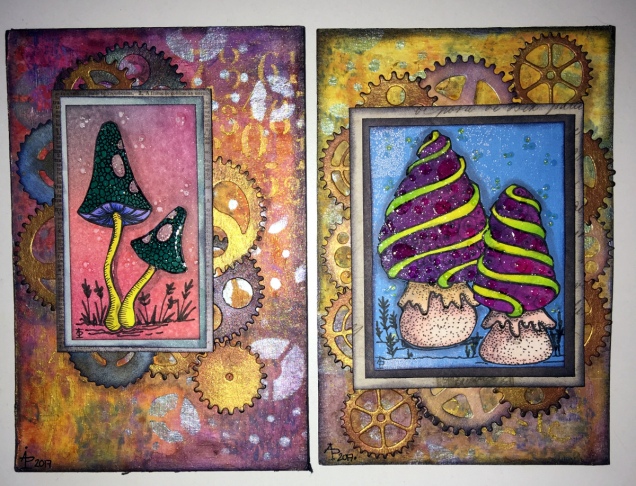
To make the inchie and betwinchie tiles I started with mixed media paper. My preferred brand is Claire Fontaine, and I used some sheets of white mixed media paper, and some that are natural in colour.
Distress oxide inks and a stencil brush were used to add colour to the sheets of paper, with a misting of water applied once this was complete to bring out the ‘oxide’ effect. The Distress Oxides look quite different on the natural paper, more muted as the oxide ‘bloom’ is more apparent.
Next, I cut the sheets into 1″ x 1″ and 1″ x 2″ tiles. I edged the tiles with black by using the edge of a wide tip on an alcohol marker. Drawings and patterns were then added using Pitt Artist pens by Faber-Castell. I wrote words on some of the tiles, on a few I used some ChitChat stickers from Tim Holtz’s Ideaology range. Then, Derwent Inktense pencils with a water brush and coloured pencils with a blending stick from Faber Castell were used to add colour depth to the tiles. The next step was to add white highlights and metallic and iridescent details using gel pens and paints.
To finish the tiles, I added a layer of 3D Crystal Lacquer by Sakura Hobby Craft to give them a highly glossy, slightly domed finish.
I then had a small bowl filled with these tiles, and had to try to do something with them. So, I thought I’d make a kind of mosaic of ones that said something about me.
Making the background and mosaic
I needed a background for this, so I took another piece of the Mixed Media paper, in white, and added colour using ink blending tools and the Distress Oxide inks, followed by a light spray of water.
I used various stencils, again with ink blending tools and Distress Oxides to add patterns. After each stencil, I sprayed the stenciled areas quite liberally with water so that the dye part of the Oxides inks ran, but the pigment ink remained in place. I also let any puddles of water form or run as they wished to do so. Finally, I edged the piece of paper with Vintage Photo Distress oxide ink, again using a blending tool, and then sprayed with water once again.
I didn’t take a photo of the background, which I was really pleased with and almost didn’t want to do anything with other than keep it and look at it.
However, I gritted my teeth and started to choose the tiles I wanted to use and to lay them out on the background.
I then used a collage medium to stick the tiles down, and the result is what you see.
It’s all a bit wibbly-wobbly, but that’s quite representative of me!
Learning points
I know it’s not finished yet, but it’s drying as I found that if I got the collage medium on the Crystal Lacquer finish I got dull patches, so an extra layer of Crystal Lacquer has been applied to the affected tiles and these are now drying. So, I need to make the inchies and not finish them off before I adhere them to a project, or I need to find a different way to adhere them!
The background has warped – a lot. I need to think about how to either keep it as flat as possible through all the repeated sprayings and dryings of the paper when the background is made, or I need to find a much thicker paper/card to use for this.