I’ve had a funny couple of days, not necessarily in the funny ha-ha way, though!
I had a migraine yesterday, so no video nor post was possible. I’m feeling better today, just still very, very tired.
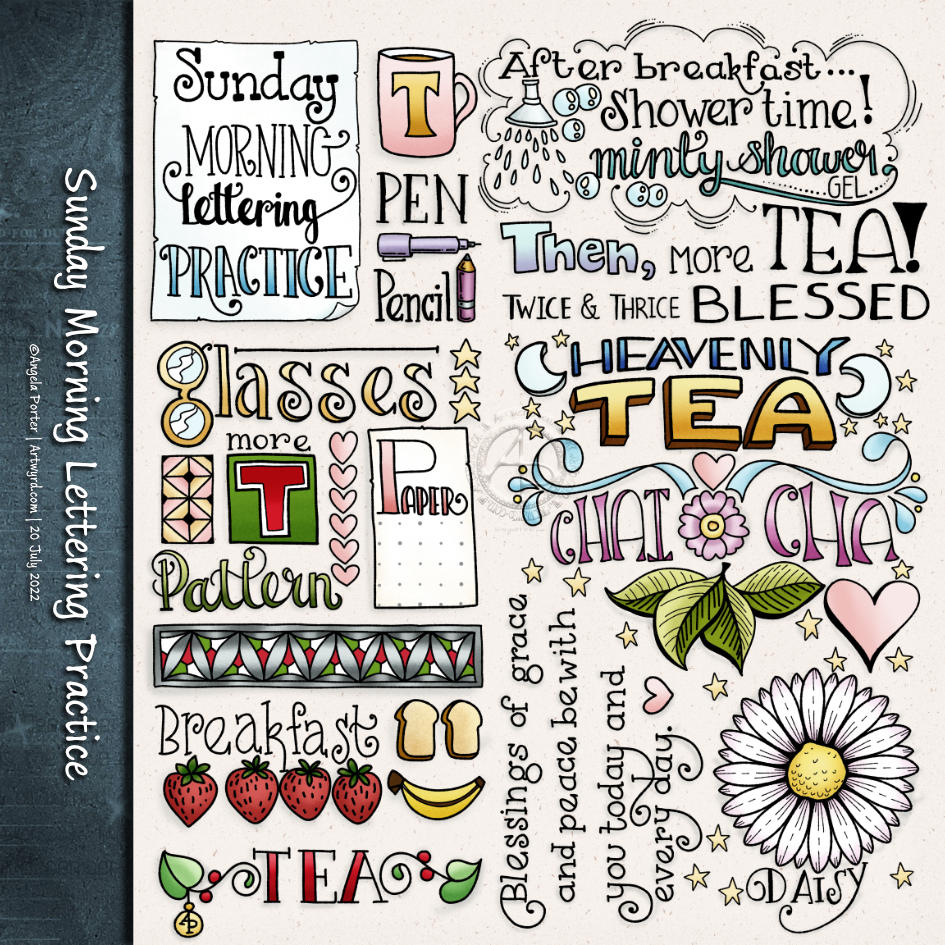
Today, I had plans. I was awake around 5am, again, and so did some pencil lettering ‘sketches’; the finished result of one is in the photo.
I thought I’d start to digitally ink the lettering in and add colour before turning my attention to a YouTube video. And the phone rang, and it was a friend. So, during the over two-hour-long chat, I managed to mostly get this done! Yup, I can ink in a sketch and so on while chatting. I just can’t chat and sketch, generally.
My plans to record a video this afternoon were then scuppered as I couldn’t keep my eyes open! So, on waking, I completed this particular piece of lettering and doodling.
It really is practice for me. I’m not only practising my lettering skills, but I’m also trying out new brushes and tools and so on in Clip Studio Paint. That is a constant practice for me. I tend to learn how to do something when I need to do that something!
This one is probably as good as it’s going to get. Time to move along to the next mini-lettering project and learn and practice more!