Rectangular Zentangle Fragment Explorations

Click on this link to view the accompanying video on YouTube.

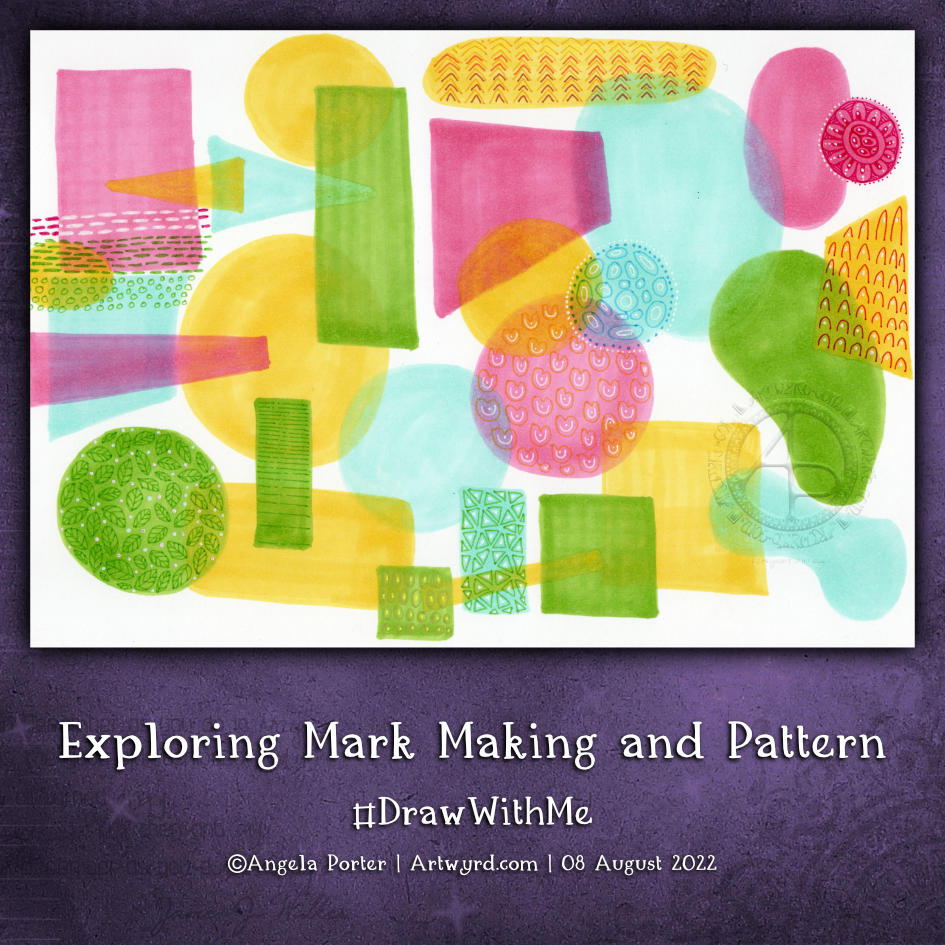
This was a nice way to start my day! Exploring fragments and creating fragments is always a fascinating process. I never quite know what will come from my mind onto the paper. Some fragments work out, others don’t. Either way, it is still of value, even if just exercising hand-eye coordination, fine motor skills and the creativity ‘muscle’!

I can see some of these fragments working best as individual motifs. Others would work well in a reticulum – the zentangle name for a grid.

I still have quite a few rectangles to fill, so I will post them as a resource when that’s done.

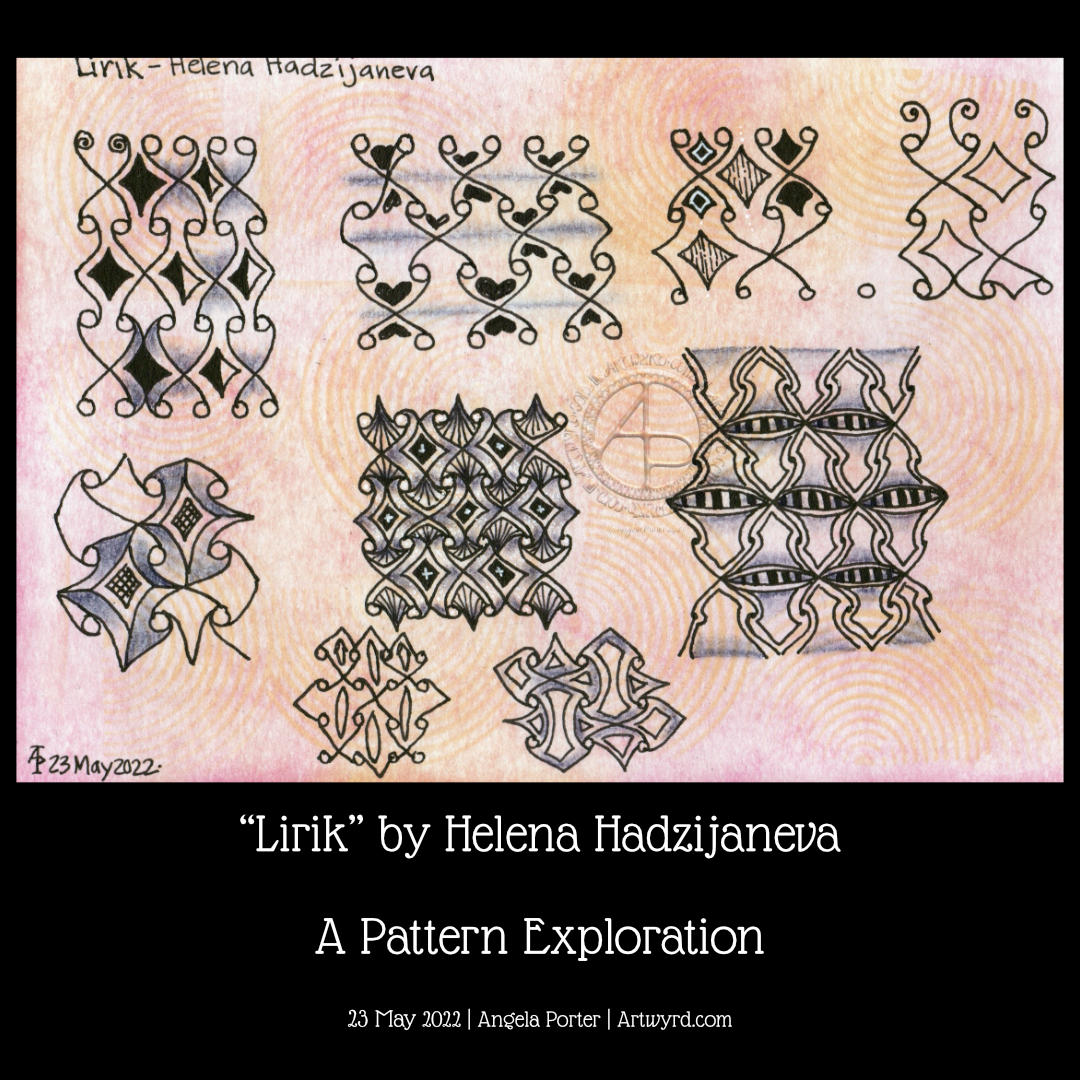
Talking of resources… I now have quite a few sketchbooks and loose pages filled with explorations of fragments. I need to start organising them all so I can refer to them for inspiration. Or do I? I mean, it’s not a huge issue to just sit and do some of these fragments until I find one I’d like to use in a drawing. I worry about forgetting things, not using them or referring to them. Perhaps the value in all of this is to get a memory hoard of shapes and ways of putting patterns together, which can be drawn upon when needed.

Yes, a memory hoard, whether conscious or stored in the subconscious, is so important and trusting that all these things will be there, somewhere, ready to be used in different, unusual and even unique ways.

“Drawing” on vellum paper with ‘Scena’ variations.

Click on this link to view the accompanying video on YouTube.

Like many of you, I have been watching Zentangle’s Project Pack 18 videos. For this project pack, they’ve included vellum tiles, which they’ve called Translu-zen-cy. It took me a while to remember that I had some things in my stash – vellum, ball styluses for working on vellum, and past experiences drawing on vellum in the Pergamano style!

So, I had a bit of a faff around with vellum on Saturday and Sunday. This morning, I decided to share this with a YouTube video.

Drawing on vellum is fairly easy, but it’s not without its tricksy elements. First, you need a surface to work on with a little bit of ‘give’ so that the ball tool, a ballpoint pen that has run out, a fine-pointed knitting needle, or similar can emboss the vellum. This embossing is done on what will be the reverse of the artwork; the marks appear much more opaque white on the front. The darker the surface, the better, as it’s easier to see the marks you’re making on the reverse side.

You don’t need to use a lot of pressure to emboss the vellum. In fact, a series of lighter strokes, giving the vellum a chance to rest and relax back to being flat, is better than using heavy strokes. This will minimise the curling of the vellum, but it will still need to be put under a heavy book for a couple of hours, or days, to flatten it out. So it’s not something that can be completed in one go.

You can always tell which is the front; the lines feel raised because they are! Also, they are a more opaque white. I always check that I’m embossing on the reverse side before wielding the ball stylus with any kind of intent.

To make the ball stylus run smoothly across the vellum, making it easier to have a light hand, you can rub the vellum with a tumble drier sheet and the ends of the ball tools. It also makes your vellum smell nice for a while. Not that the vellum has a smell anyway.

Once the drawing is finished, it can be coloured, again on the reverse, mounted on coloured paper or card, or a combination of these. Metallic highlights can be added to the front if desired.

It has been a nice exploration of this technique and the Zentangle tangle pattern ‘Scena’. I’ve not finished drawing the design; the vellum is currently resting under my cutting mat so it can flatten out. But I’m going to film the process. Then, I’ll look at ways of adding colour to vellum in a third video in the series. That’s if I share the process of drawing the rest of the design.

I’m no expert on Pergamano, but drawing with other tools and surfaces is fun.

#DrawWithMe – Exploring some square Zentangle pattern fragments

Click on this link to view the accompanying video tutorial on YouTube

Earlier today, I just wanted to explore a simple Zentangle Pattern fragment, or two. I started with two square fragments, each with a circle in the centre. One had a diagonal cross, the other vertical/horizontal. And I went from there to create some more ornate versions of them.

I never know where this kind of exercise is going to go, but it is always interesting and some pleasant kinds of fragments result.

These are just a few fragments I came up with during the course of the video; I’ve barely scratched the surface of all the possible variations.

This exercise is good for flexing your creative ‘muscles’, warming up hand-eye coordination and fine motor skills, and playing around with colour, shade and highlight. Also, it’s perfect for relaxing, taking a break from all that is happening in this world. Even if for just a short while.

#DrawWithMe – exploration of some triangular Zentangle fragments

Although I didn’t tackle all of the triangular fragments in today’s video, I enjoyed sharing some explorations, along with the little bit of an overall pattern that came about almost accidentally!

I’d almost forgotten how much fun it is to use a basic shape and see how it can be turned into a fragment of a larger pattern. Then, create variations on this theme. Some of the fragments are from the Zentangle Primer Vol. 1, others are variations that resulted.

Flowers and a Zentangle pattern variation

Video to go with the variations on the right.
Video to go with the flowers and variation on the left.

It’s blessedly cooler this morning as I write this blog. There’s been a little rain, but not enough to help out nature. We have the potential of thunderstorms and torrential rain at some point today. I do hope we get some thunderstorms – I love nature’s fireworks and drama! Rain is fine, but torrential rain can cause huge problems.

Anyhoo, to arty things. There are two drawings in the photo. I completed the one on the right on Sunday and filmed a video tutorial. It explores a new fragment shared on day one of Zentangle Project Pack 18. It’s always fun to explore patterns; I get to understand the pattern more and discover variations.

One of those variations came out in my sketchbook on Sunday evening. I used the ideas of the fragment as a way of filling space. What resulted looked a lot like the tangle pattern Diva Dance. you can see this in the drawing to the right in the image above.

It never ceases to amaze me how patterns can segue one into another as variations are explored. Everything, even tangle patterns, is interconnected and related by not that many degrees of variation!

Of course, I filmed the drawing of the flower and tangle pattern tile as a video tutorial. Hopefully, slowly and clearly enough that it’s easy to draw along with me. I hope you give it a go!

Exploring Mark Making and Pattern #DrawWithMe

Click on this link to view today’s video on YouTube.

I had a lot of fun with this sketchbook page. It’s well out of my ‘comfort-zone’ as there are absolutely no black lines, not even the lines that define the basic shapes.

This is inspired by illustrator Kate Sutton, whose Domestika course I started watching yesterday. And there’s another project I have on the go that is inspiring me to explore this kind of drawing.

I’ve tried this before, but felt so uncomfortable with it that I gave up very quickly. Today, I was determined not to use any black lines at all. Instead, I picked a colour palette of just four colours of Arteza EverBlend markers. For each colour, I chose a similar one from my set of Zig Writer pens.

I started by creating the collage of simple shapes using the markers, overlapping them so that the colours mixed. I was careful not to mix the pink and green; I didn’t want to make mud!

Once I was happy with the basic design, I used the Zig writers to add patterns made from simple marks. To begin with, this felt really awkward, uncomfortable, and just plain wrong. However, the more I did, the easier it became, and the more I liked what was happening. I’m so glad that I persevered!

I dug out a white gel pen to add some brighter, lighter marks and to play with the ‘stitching’ to the top right. The idea that I was using pen ‘stitching’ to connect shapes and patterns amused me.

Using the white gel pen reminded me I had other gel pens to use, and use them I did.

I love the translucency of the marker pens and the way that the patterned shapes seem to float. The use of monochrome colours in these shapes, along with white, just gives an airy, delicate feel to them. I can now see the value of this way of using no black line. I have a lot more exploring and experimenting to do. My mind is ticking over how I can make use of this in a project I’m developing at the moment.

As eager as I am to continue my explorations, I have an errand to do first. But when I return home, well, I’m going to try out some of my ideas both on paper and digitally and see where this takes me.

Draw With Me … A pattern, tangle pattern and motif sampler sketchbook page – part 3

Another couple of panels were completed on this sampler this morning. I like something like this to gently start the day and a bit of a drawing warm-up. If you’d like to draw with me, then click on this link to see today’s video on YouTube.

Today I’ve added the tangle pattern Kos, deconstructed by Anica Gabrovec CZT, known as Zen Linea. This panel is to the top and centre-right. The other panel is towards the bottom left and is one inspired by Rebecca Blair.

It’s funny how the internet seems to conspire to remind me of my early artwork nearly 20 years ago. One of my drawings turned up on Pinterest today. And it was this kind of sampler, but with patterns from Romanesque architecture, nature and textures drawn in pen and white ink on a kraft paper background. Seems I was doing this kind of thing before I’d heard of Zentangle or Rebecca Blair or many other artists and CZTs!

I keep trying to settle on a clear artistic voice, if not chorus, and it may always have been there, but I just don’t seem to accept it for some reason.

Perhaps these kinds of synchronicities are nudging me to accept this is something that I like to do and need to work more with. Time will tell, that’s for sure.

I think I’ve accepted, mostly, that I need to put watercolours and similar media to one side and focus on alcohol markers. I like the control I have over them. And using digital art to add colour, shadow and highlight too.

As much as I like the fluid, random effects you can get with water-soluble media, my ability to work with these media seems to be limited. Still, no doubt I’ll keep returning to them in the hope I’ll have a different outcome at some point in time. I’m not going to hold my breath on that, though!

I also think that I’m zeroing in on the best way for me to work with colour – monochrome or analogous colour schemes, maybe with a pop of complementary colour here and there.

Draw With Me – OAURA by Lin Chiu CZT – A Tangle Pattern Exploration

Please click on the “Watch on YouTube” button to play the video on YouTube. Cheers!

Oh this was a lovely pattern to explore for a page in my sketchbook. It’s quite simple to draw, but it has so many possibilities that I’ve barely touched upon in this video.

The page I’m drawing on I coloured with various Distress Inks – Mustard Seed, Wild Honey, and a touch of ripe persimmon around the edges. I also used some Abandoned Coral to add subtle patterns through a stencil.

It’s always a pleasure to draw on paper that is coloured. The colour always brings some interest to whatever is being drawn, or so I think. Not that I’m averse to drawing on white paper, but colour adds something I can’t quite put into words.

As well as using black 05, 03 and 01 Sakura Micron and Uniball Unipin pens, I added some vintage red from an 0.5 Zebra Sarasa gel pen.

For shadows, I used a purple-grey Stabilo Carbothello chalk pastel. White highlights were created using a white charcoal pencil from General’s.

“Lirik” pattern exploration

Exploring a totally new tangle pattern may not have been the best choice for me as I wait for the last pain of a migraine to go so I can sleep the rest of it off! Plenty of mistakes and not good choices here, but plenty of opportunities to learn from.

In today’s video on YouTube, I first make some Distress Ink backgrounds, then I explore this lovely tangle pattern, mangling it completely at times! This isn’t a problem as it’s all sketchbook work!

Draw With Me Video | Pattern exploration of “Kruffle” by Kelli King CZT

Please click on the “Watch on YouTube” button. Cheers!

Carrying on with my look at arches is an exploration of the tangle pattern “Kruffle” by Kelli King CZT.

It actually took me a little while to understand the deconstruction of this pattern, it’s deceptively tricksy! But, when I’d got it, quite a few variations appeared in my sketchbook.

Of course, I go through these, step by step, in today’s video.

I really do enjoy exploring tangle patterns, as well as all my favourite motifs. They are such a good way to get creative juices flowing, but also of practicing your drawing skills, as well as other techniques, such as adding shadows or colour, or further patterns.